

Welcome back to another day of our 90 days of DevOps journey! Today, we're diving into the world of scaling with Terraform, particularly focusing on AWS Auto Scaling Groups.
Understanding AWS Auto Scaling Group
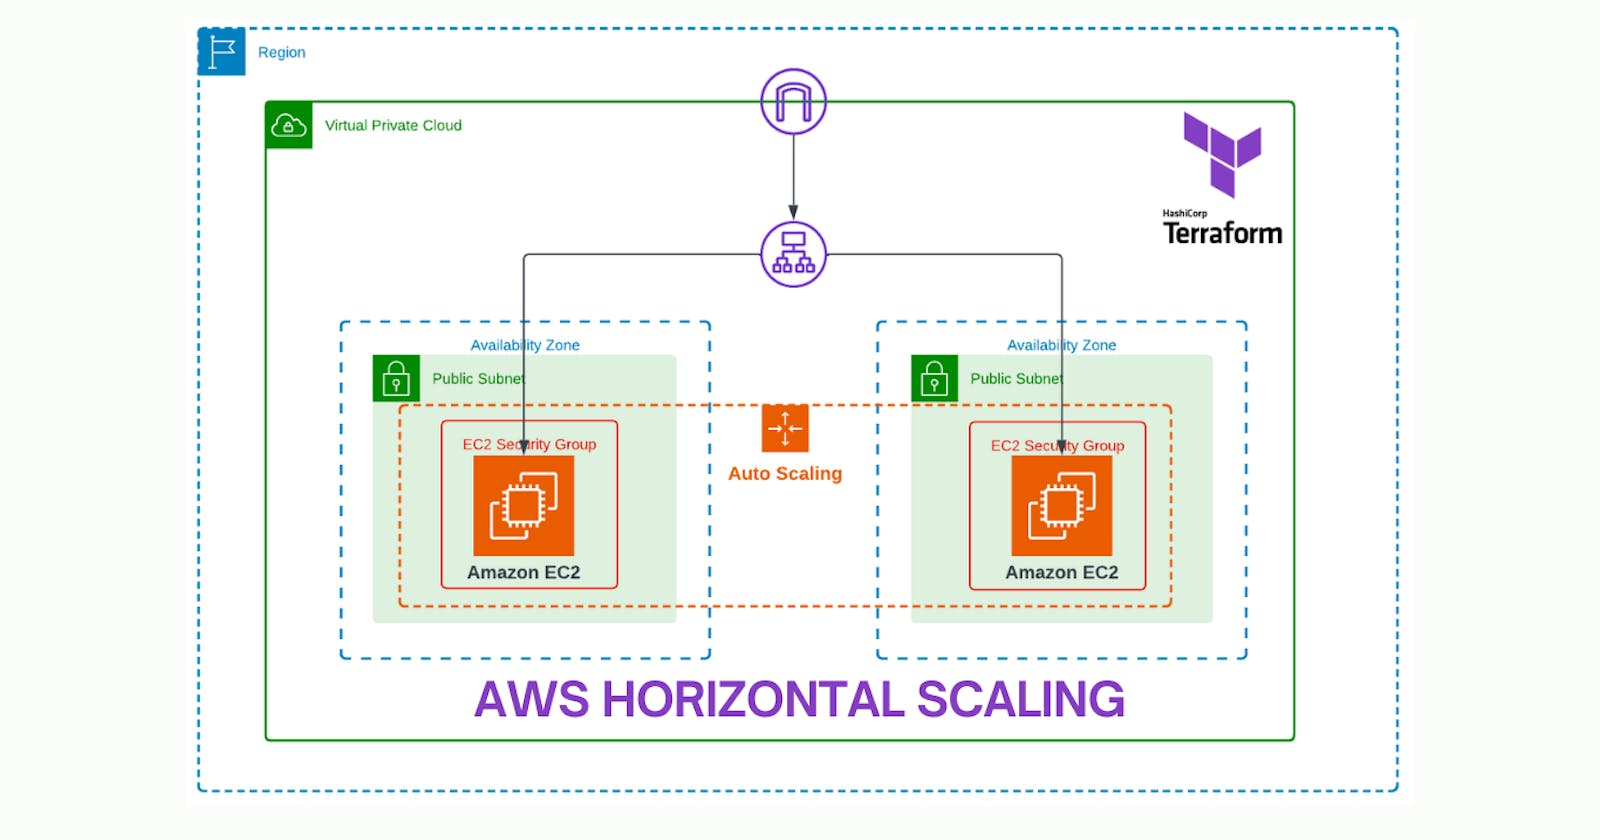
Before we dive into the practical aspect, let's understand what AWS Auto Scaling Group is. In a nutshell, AWS Auto Scaling Group is a service that automatically adjusts the number of instances in a group based on demand or a defined schedule. It helps ensure that you have the correct number of instances available to handle the load for your application.
Task 1: Creating an Auto Scaling Group
To get started, let's create an Auto Scaling Group using Terraform. Here's a simple Terraform configuration for creating an Auto Scaling Group:
provider "aws" {
region = "us-east-2"
}
data "aws_availability_zones" "azs" {}
#VPC
module "vpc" {
source = "terraform-aws-modules/vpc/aws"
name = "day68_vpc"
cidr = var.vpc_cidr
azs = data.aws_availability_zones.azs.names
public_subnets = var.public_subnets
tags = {
Name = "day68_vpc"
Terraform = "true"
Environment = "dev"
}
}
#sg
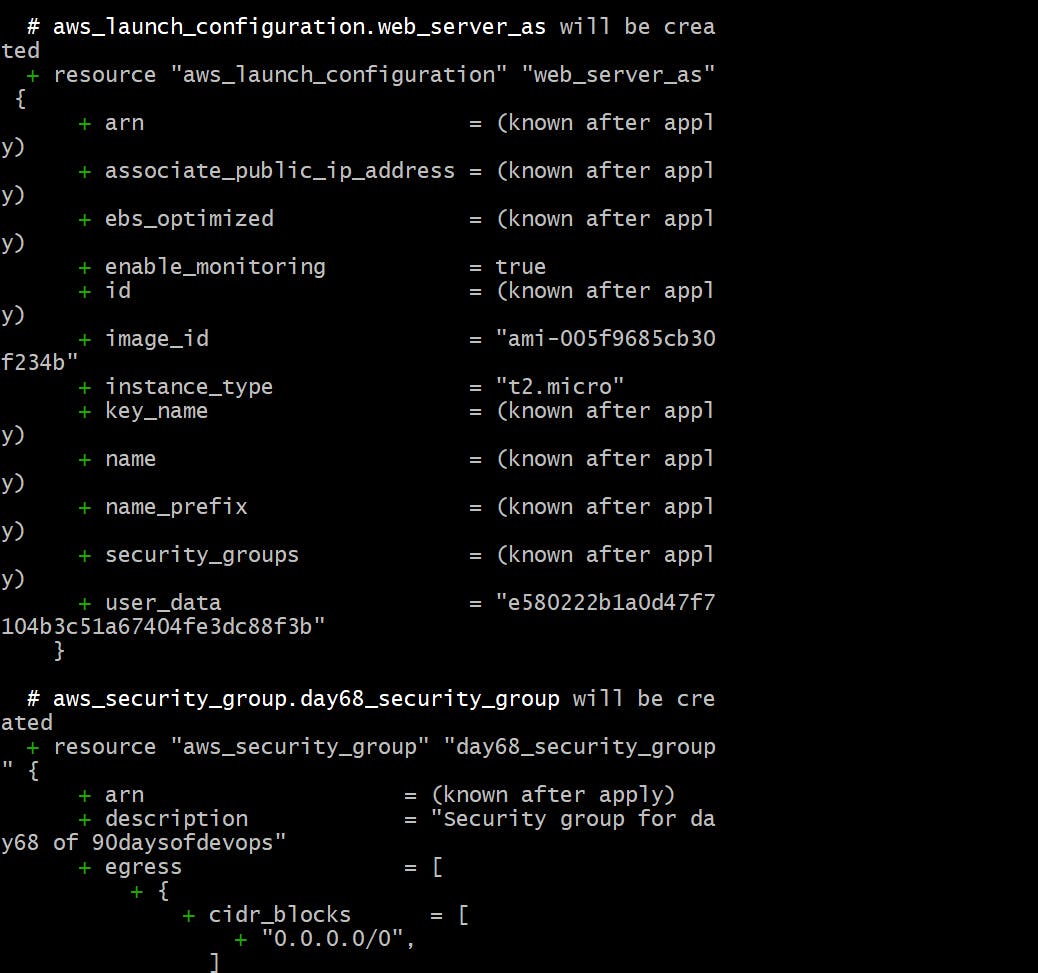
resource "aws_security_group" "day68_security_group" {
name = "day68_sg"
description = "Security group for day68 of 90daysofdevops"
vpc_id = module.vpc.vpc_id
ingress {
from_port = 22
to_port = 22
protocol = "tcp"
description = "SSH"
cidr_blocks = ["0.0.0.0/0"]
}
egress {
from_port = 0
to_port = 0
protocol = "-1"
cidr_blocks = ["0.0.0.0/0"]
}
tags = {
Name = "day68_sg"
}
}
resource "aws_launch_configuration" "web_server_as" {
image_id = "ami-0f5daaa3a7fb3378b"
instance_type = "t2.micro"
security_groups = [resource.aws_security_group.day68_security_group.id]
}
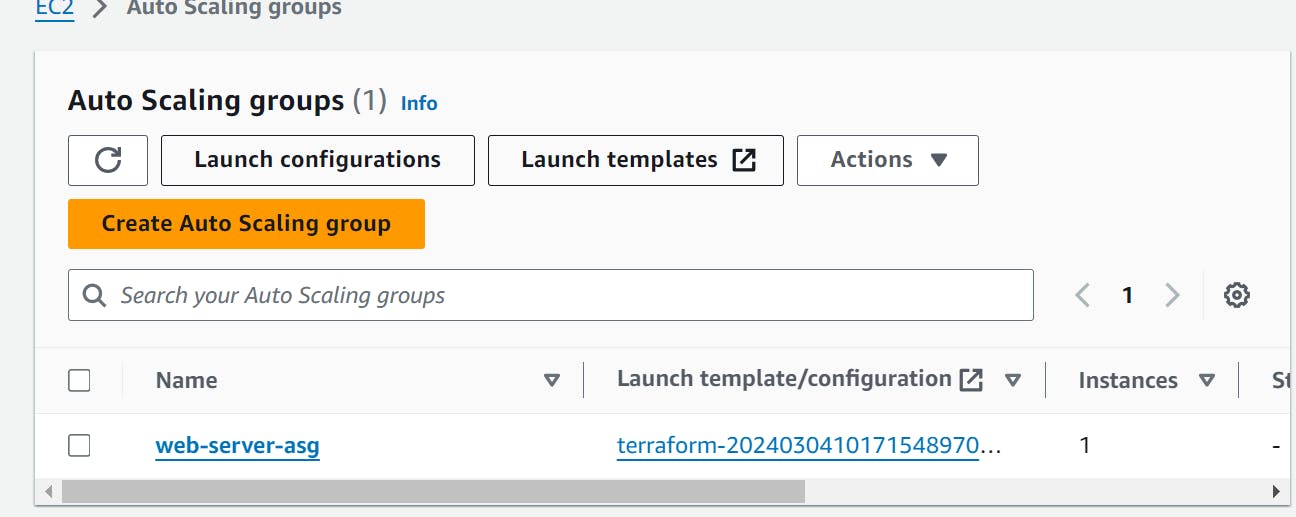
resource "aws_autoscaling_group" "web_server_asg" {
name = "web-server-asg"
launch_configuration = aws_launch_configuration.web_server_as.name
min_size = 1
max_size = 2
desired_capacity = 1
health_check_type = "EC2"
load_balancers = [aws_elb.web_server_lb.name]
vpc_zone_identifier = module.vpc.public_subnets
}
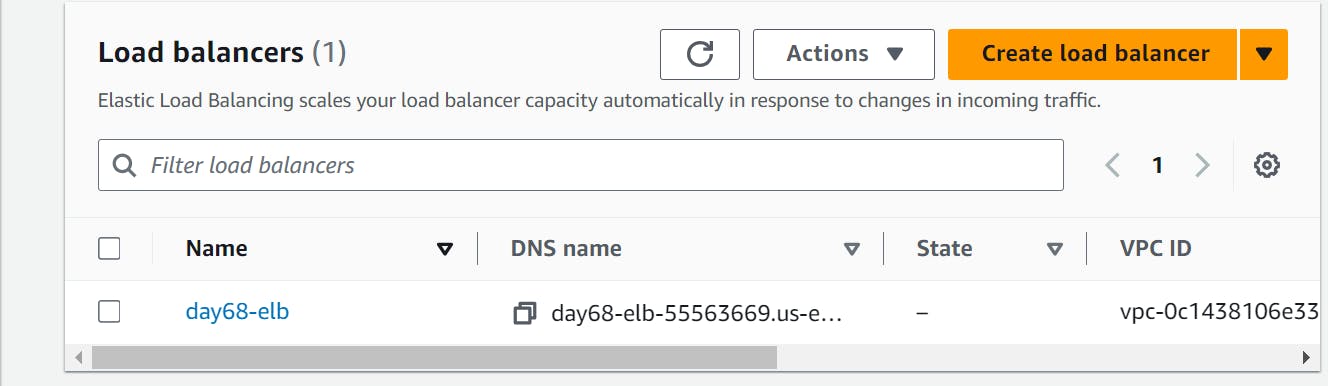
# Create a new load balancer
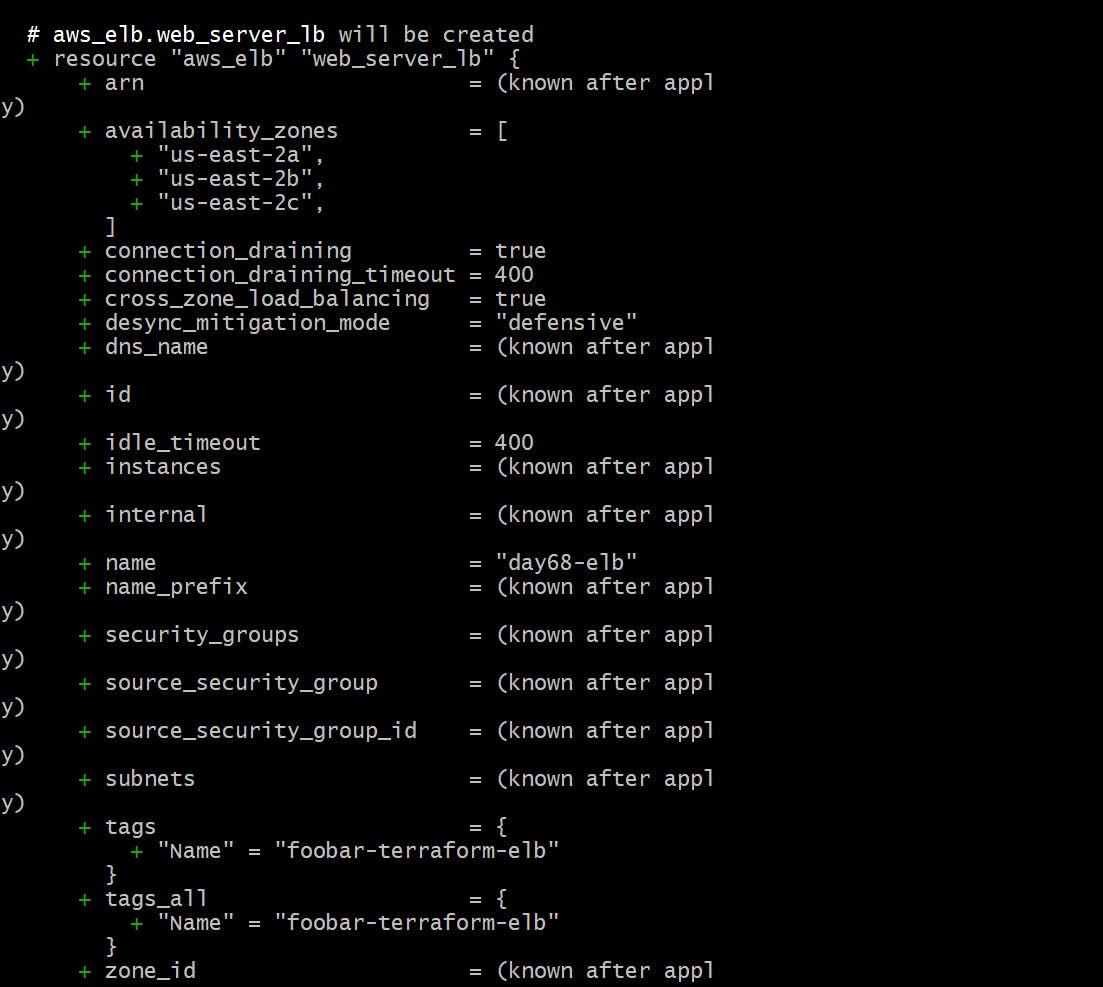
resource "aws_elb" "web_server_lb" {
name = "day68-elb"
availability_zones = data.aws_availability_zones.azs.names
listener {
instance_port = 8000
instance_protocol = "http"
lb_port = 80
lb_protocol = "http"
}
health_check {
healthy_threshold = 2
unhealthy_threshold = 2
timeout = 3
target = "HTTP:8000/"
interval = 30
}
cross_zone_load_balancing = true
idle_timeout = 400
connection_draining = true
connection_draining_timeout = 400
tags = {
Name = "day68-elb"
}
}
variable "public_subnets" {
description = "Public subnet"
type = list(string)
}
variable "vpc_cidr" {
description = "Vpc CIDR"
type = string
}
public_subnets = ["10.0.1.0/24", "10.0.2.0/24", "10.0.3.0/24"]
vpc_cidr = "10.0.0.0/16"
In this configuration:
We define a launch configuration specifying the instance image and type.
We create an Auto Scaling Group with minimum, maximum, and desired capacity.
We specify the VPC zones for the instances.
We add a tag to the instances for better organization.
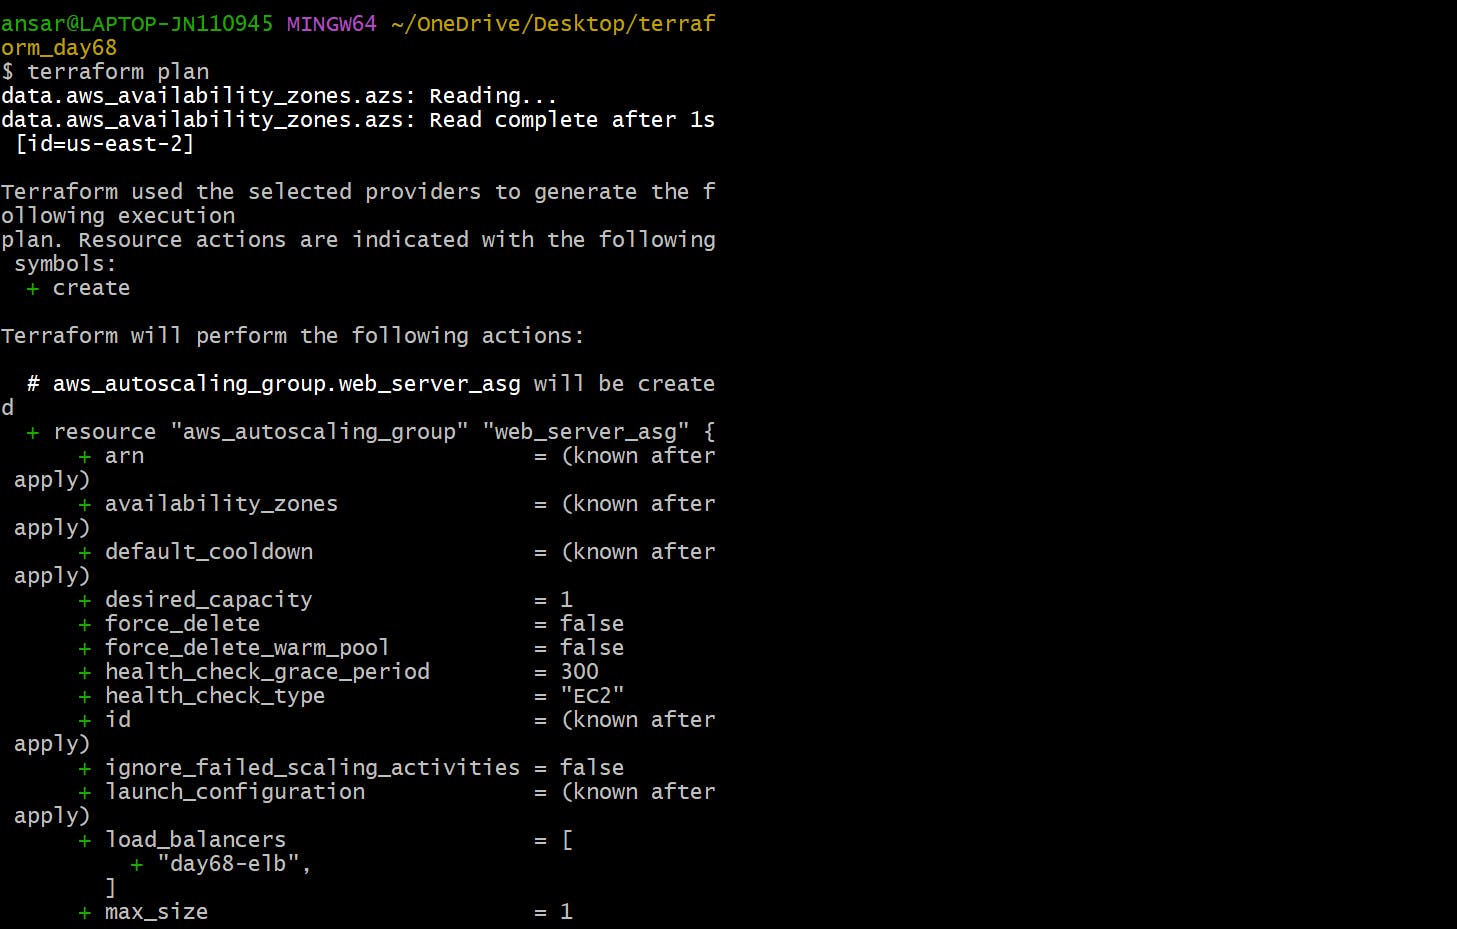
Once you've saved this configuration in a .tf file, you can run terraform apply to create the Auto Scaling Group.
Task 2: Testing Scaling
Now, let's test our scaling setup. Follow these steps:
Go to the AWS Management Console and select the Auto Scaling Groups service.
Select the Auto Scaling Group you just created and click on the "Edit" button.
Increase the "Desired Capacity" to 3 and click on the "Save" button.
Wait a few minutes for the new instances to be launched.
Go to the EC2 Instances service and verify that the new instances have been launched.
Decrease the "Desired Capacity" to 1 and wait a few minutes for the extra instances to be terminated.
Go to the EC2 Instances service and verify that the extra instances have been terminated.
By following these steps, you've successfully tested the scaling capability of your Auto Scaling Group. This demonstrates how your infrastructure can automatically adjust based on demand, ensuring optimal performance and cost efficiency.
Conclusion
In this blog post, we've explored the concept of AWS Auto Scaling Group and implemented it using Terraform. We've also tested the scaling capabilities to ensure our infrastructure can handle fluctuations in demand effectively. Scaling with Terraform and AWS Auto Scaling Group empowers us to build resilient and efficient infrastructure that can adapt to changing requirements seamlessly. Stay tuned for more DevOps adventures ahead!
Happy scaling! 🚀
Remember to replace ami-12345678 and subnet-12345678 with appropriate values for your AWS account.