Welcome back to the 59th day of our DevOps journey! Today, we're diving into Ansible, a powerful automation tool that simplifies the management of infrastructure, configuration, and deployments. In this session, we'll set up Ansible, configure EC2 instances, install Nginx, and deploy a sample webpage. Let's get started!
Task 01: Setting Up Infrastructure and Ansible
Step 1: Creating EC2 Instances
First, let's create three EC2 instances. Ensure they are all created with the same key pair for seamless SSH access.
Login to AWS console and open ec2 service .

Click on "Launch instance" to create a ec2 instance.
Give name to your ec2 instance , check out my previous blogs for knowing how to create ec2 instance on aws cloud .
While creating instances please use same key pair.
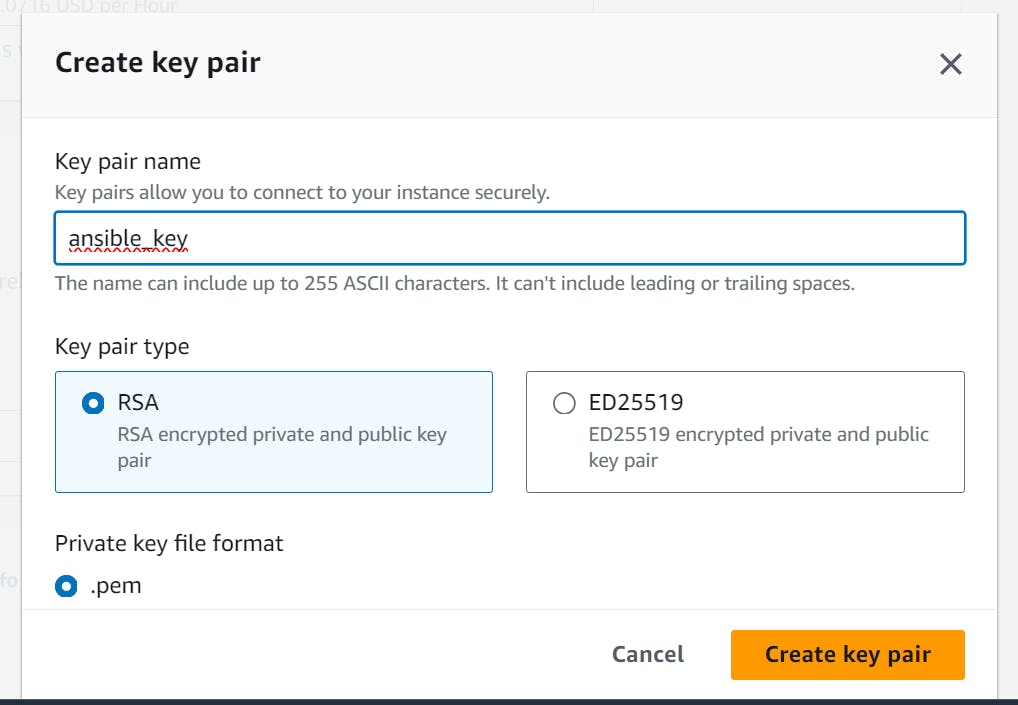
This is our master server , with this master server we will configure other two node servers.

Launch two more instances which are similar to this master instance.
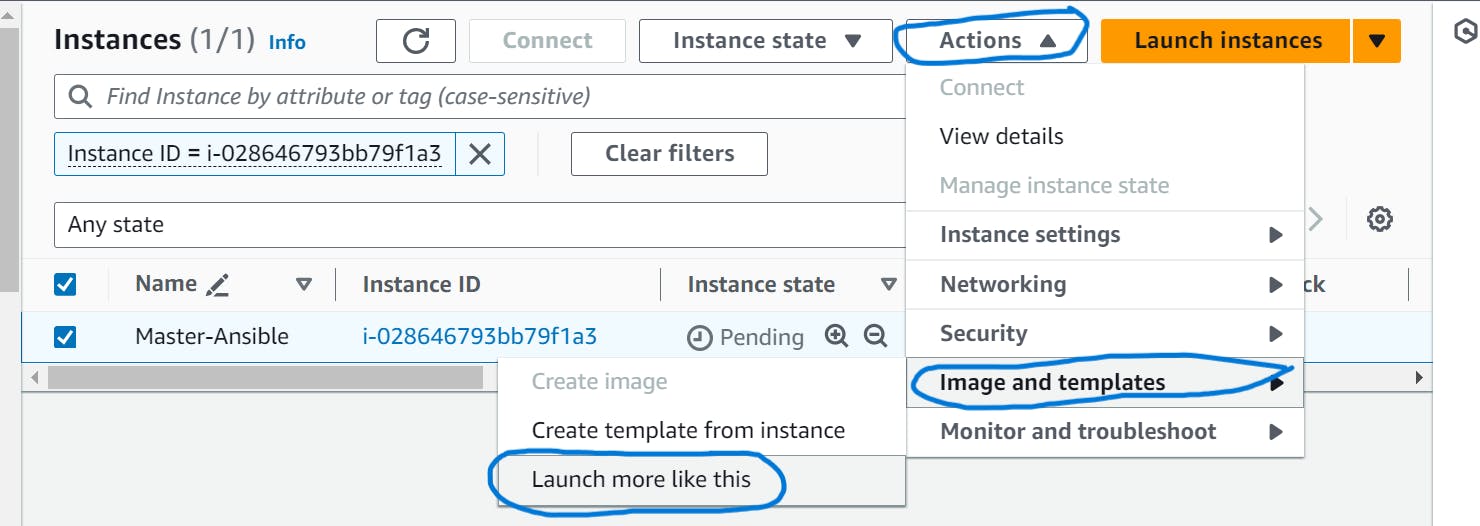

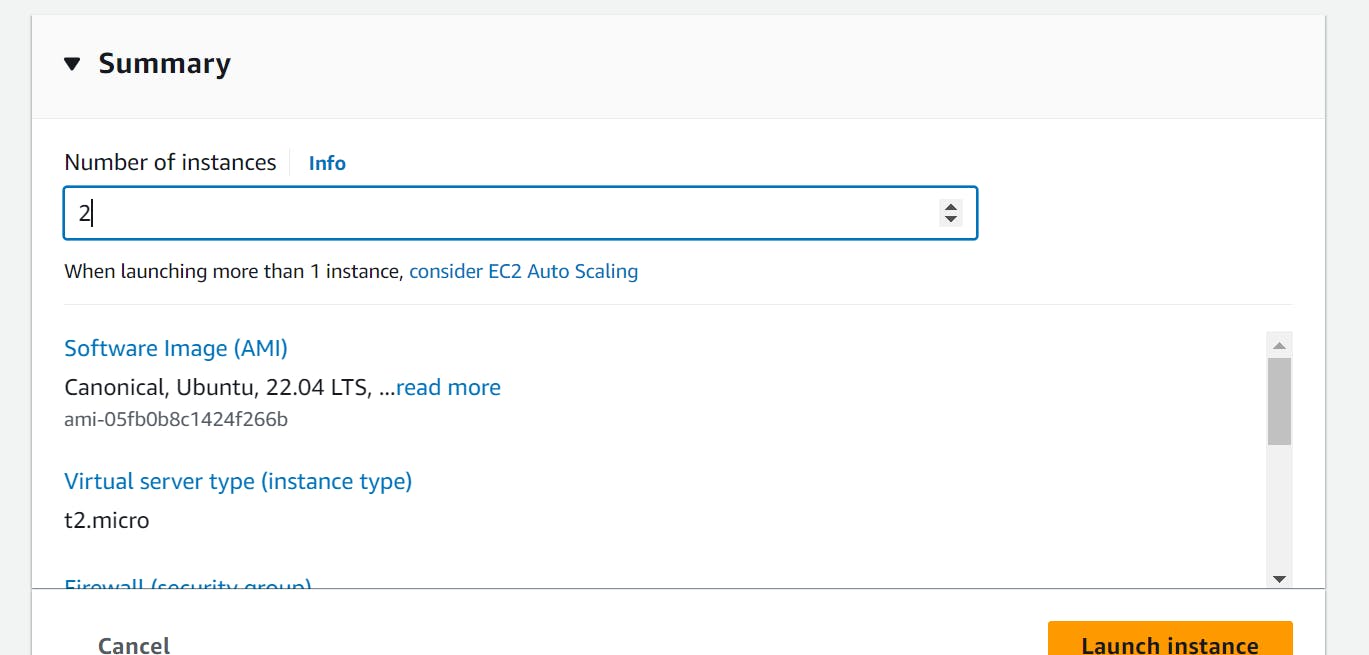
These are the Node servers, which we are going to configure with master server.


Step 2: Installing Ansible
Connect master server from local using SSH :
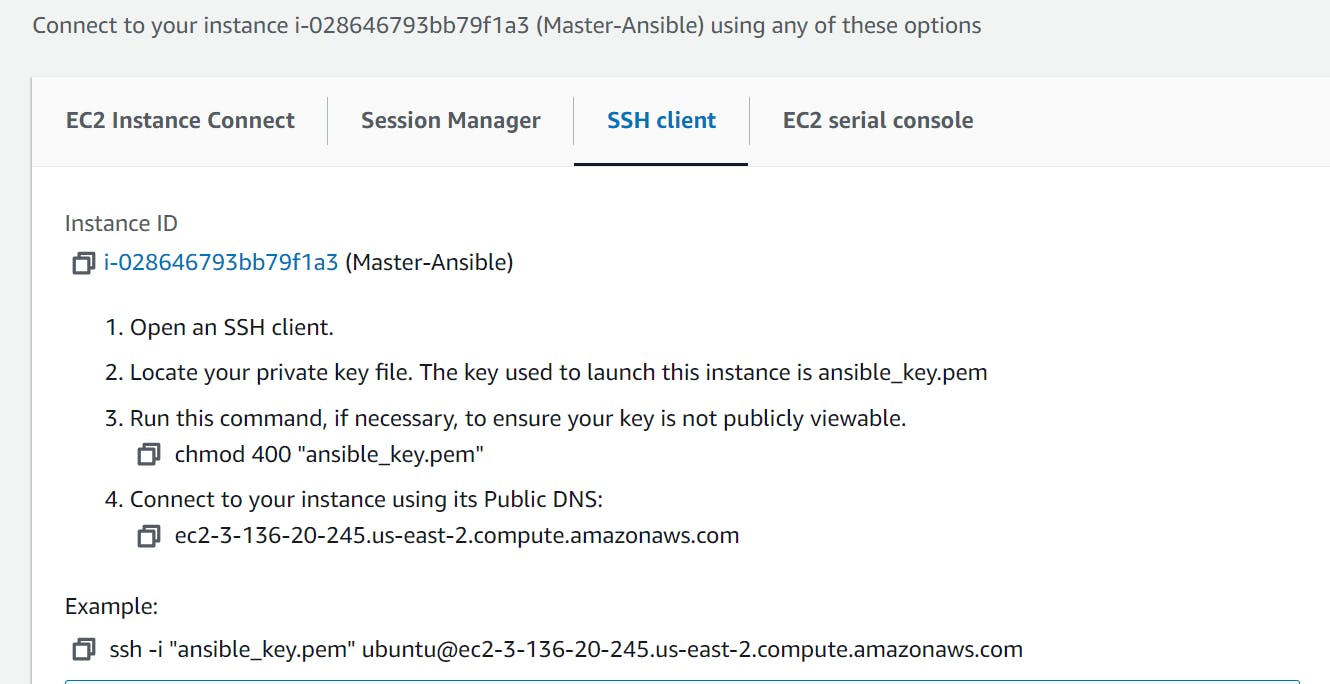
Now, let's install Ansible on our master server.

# Update package index
sudo apt update

# Install Ansible
sudo apt install ansible
Step 3: Copying Private Key
Next, copy the private key from your local machine to the Ansible host.

# Replace <private_key> with your private key file
scp -i <private_key> <private_key> ubuntu@<ansible_host_ip>:/home/ubuntu/.ssh/id_rsa
You can verify the key-pair file in master server

After this change "ansible_key.pem" file permissions for smooth configurations .

sudo chomd 600 ansible_key.pem
Step 4: Creating Inventory File
Create an inventory file on the Ansible host to specify the target servers.
# Create inventory file
sudo vim /home/ubuntu/ansible/hosts

Add the IP addresses of the EC2 instances to the inventory file:
[web_servers]
<instance1_ip>
<instance2_ip>
<instance3_ip>
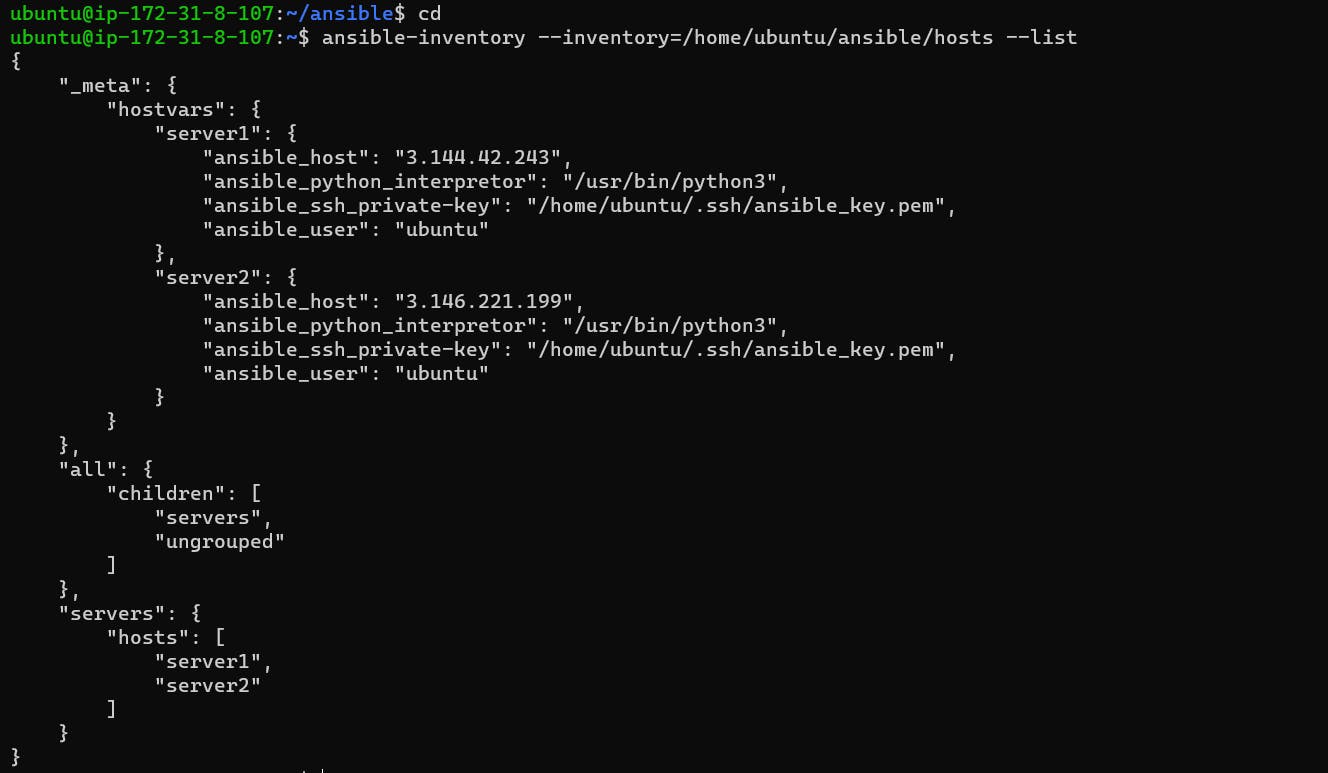
You can check the inventory file is correct or not by running below command.
ansible-inventory --inventory=/home/ubuntu/ansible/hosts --list
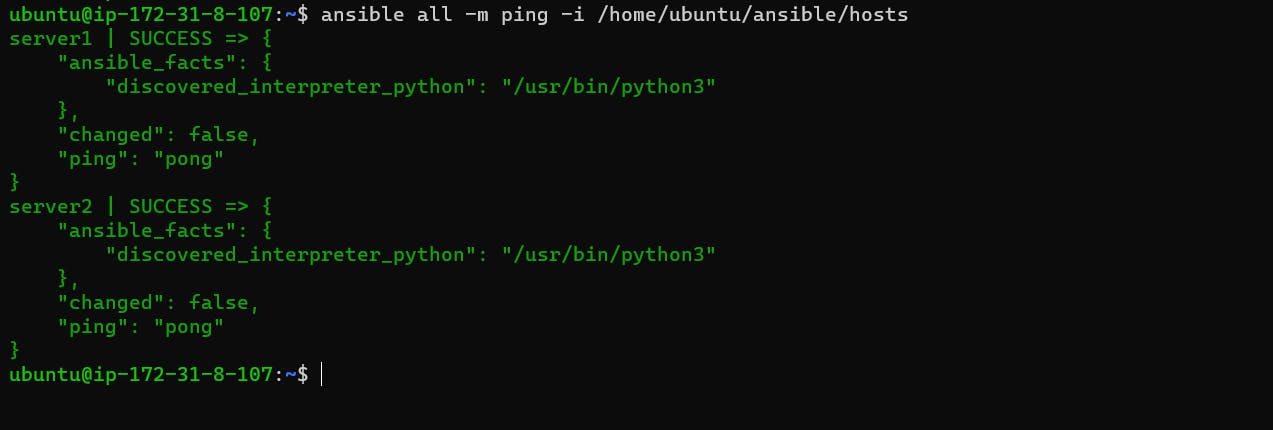
Ping to Node servers :
Task 02: Deploying Nginx with Ansible
Step 5: Create Playbook
Now, let's create an Ansible playbook to install Nginx on our EC2 instances.
# nginx_install.yaml

---
- hosts: servers
  become: true
  tasks:
    - name: Update apt cache
      apt:
        update_cache: yes

    - name: Install Nginx
      apt:
        name: nginx
        state: latest
    - name: start nginx
      service:
        name: nginx
        state: started
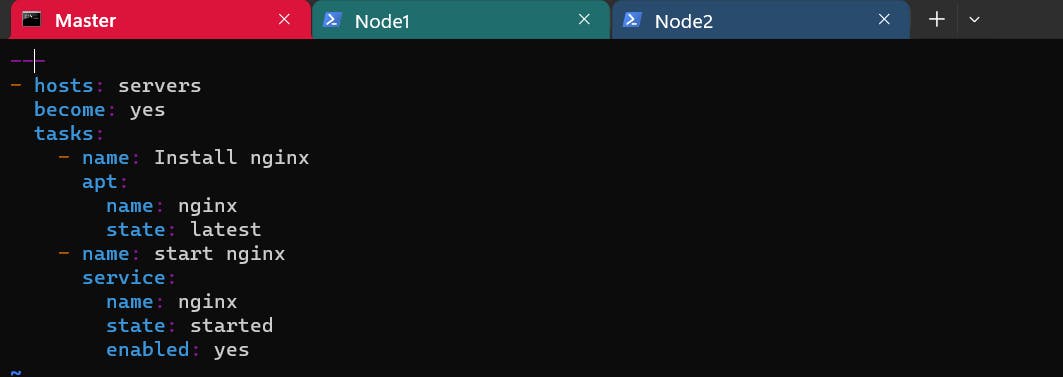
Apply playbook for installing nginx on Node servers.
# install nginx by applying ansible-playbook
ansible-playbook ansible/nginx_playbook.yml -i /home/ubuntu/ansible/hosts

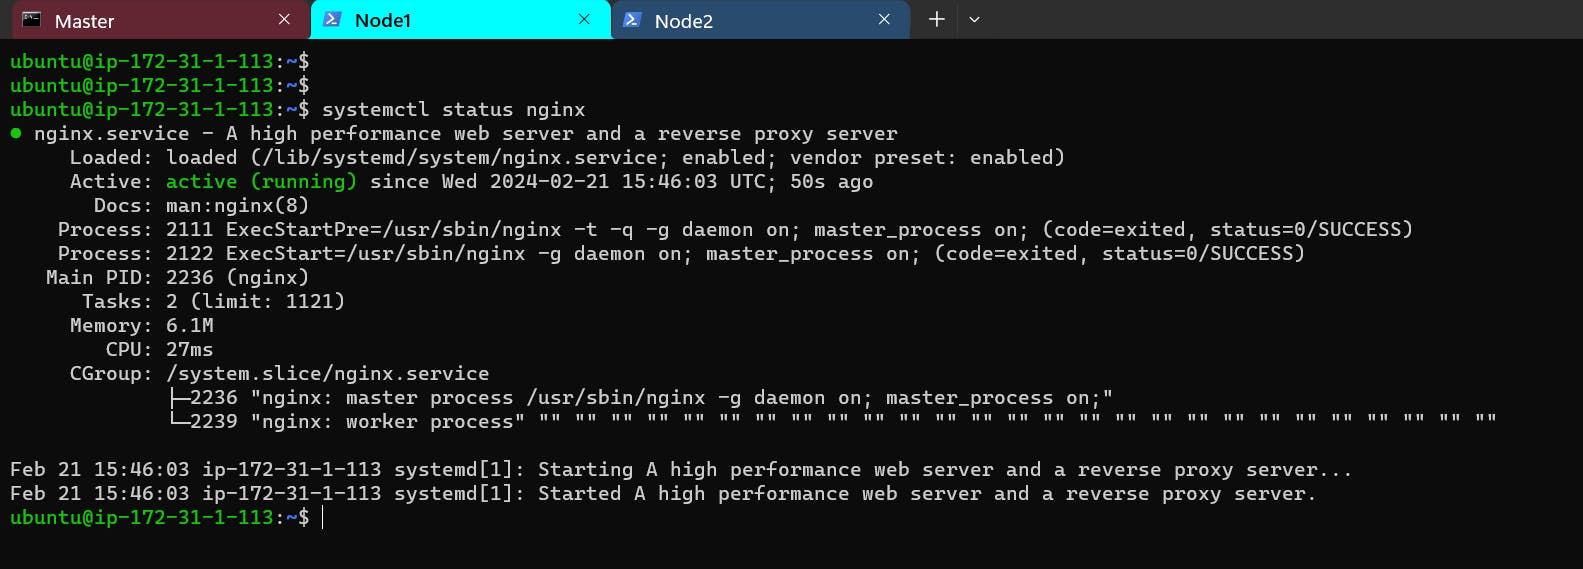
You can verify installation , goto Node1 and Run below command:
# Check status nginx
systemctl status nginx
Step 6: Deploy Sample Webpage
Create an HTML file for the sample webpage.
Use ChatGPT if you are not a developer

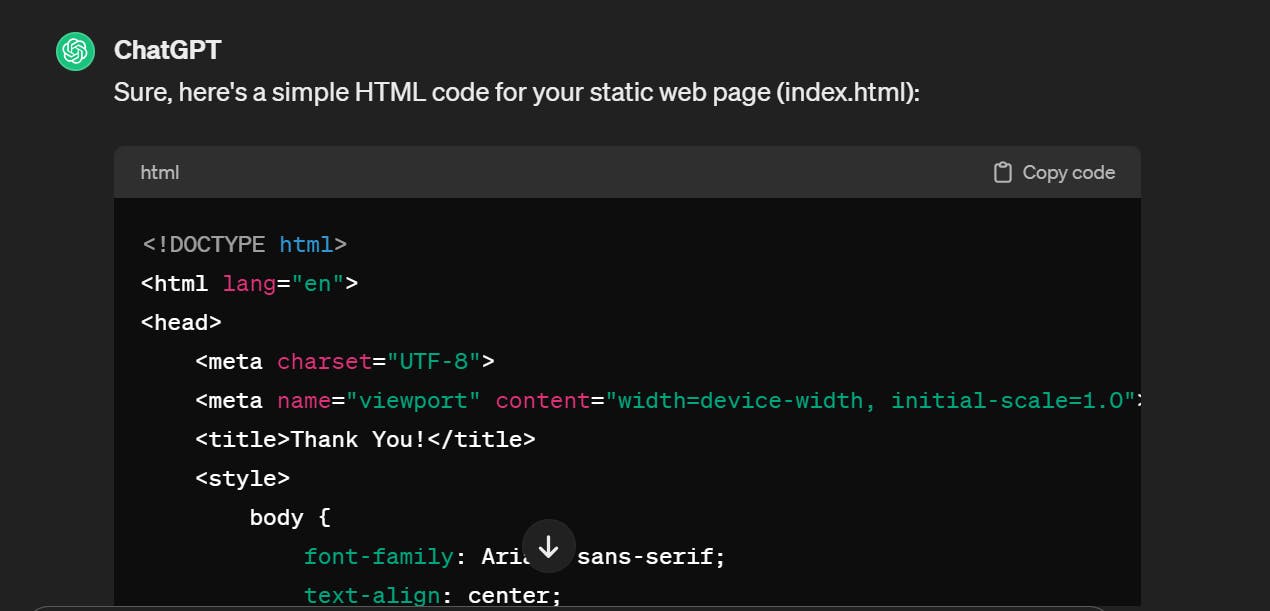
<!-- index.html -->

<!DOCTYPE html>
<html lang="en">
<head>
    <meta charset="UTF-8">
    <meta name="viewport" content="width=device-width, initial-scale=1.0">
    <title>Sample Webpage</title>
</head>
<body>
    <h1>Welcome to our Sample Webpage!</h1>
    <p>This is a test page deployed using Ansible.</p>
</body>
</html>
Come to master server and copy above index.html file here by using
# Create index.html
vim ansible/index.html
Step 7: Update Playbook
Update the playbook to copy the HTML file to the Nginx server root.
# nginx_install.yaml

---
- hosts: web_servers
  become: true
  tasks:
    # Previous tasks remain unchanged

    - name: Copy index.html to Nginx server root
      copy:
        src: /path/to/index.html
        dest: /usr/share/nginx/html/index.html
Or you can create new playbook and deploy webpage using that playbook

Step 8: Run Playbook
Execute the playbook to deploy Nginx and the sample webpage.
ansible-playbook -i /home/ubuntu/ansible/hosts nginx_install.yaml

Copy anyone of the Nodes Public IP address and search on google.


Conclusion
Congratulations! You've successfully set up Ansible, configured EC2 instances, installed Nginx, and deployed a sample webpage using Ansible playbooks. With Ansible, managing infrastructure and automating deployments becomes a breeze. Stay tuned for more exciting DevOps adventures ahead!
That wraps up our Day 59 of 90DaysOfDevOps. Keep exploring, keep learning, and stay DevOps-savvy! 🔥✨
