

| Basic HTML WEB Page On Apache2 Server in EC2 Instance Using Ubuntu | Create Load Balancer Between Two EC2 Instance | Load balancer Between Two Hosted Apache Web-Severs |
Load balancing is crucial for optimizing resource utilization and ensuring the reliability and performance of applications in large-scale computing systems. In this segment of the 90DaysOfDevOps challenge, we'll explore the process of setting up an Application Load Balancer with AWS EC2.
Task 1: Create a Basic HTML Web Page on Apache2 Server in EC2 Instance using Ubuntu OS
AWS Console Login:
Log in to the AWS Console with a root or admin policy user.
Navigate to the EC2 service.
Create EC2 Instance:
Follow the steps outlined in my previous blog Day 39: AWS and IAM Basics for creating EC2 instances using launch templates.
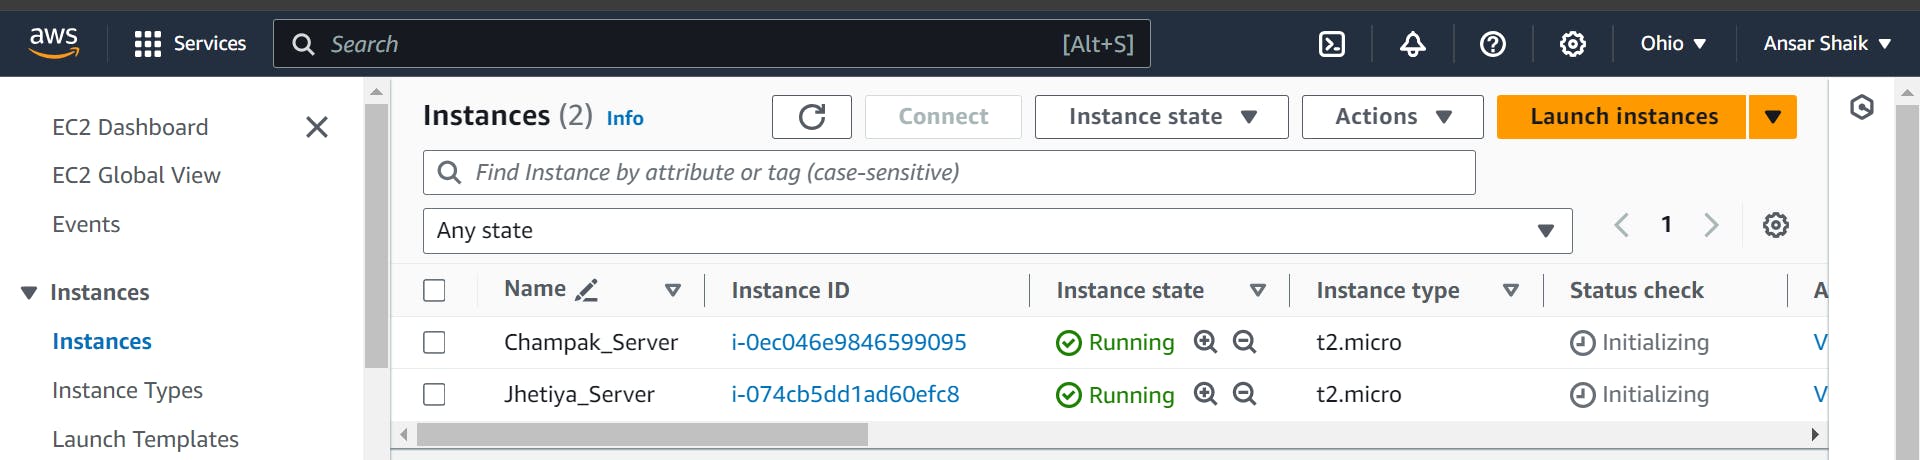
These are my two Ec2 instances(Jhetiya_Server, Champak_Server) which i have launched through Lunch templates.
Connect to your instances using SSH.
Upgrade and Install Apache2:
Open a terminal and update your instance using
apt-get update && apt-get upgrade.Install Apache2 by running
apt-get install apache2on both instances.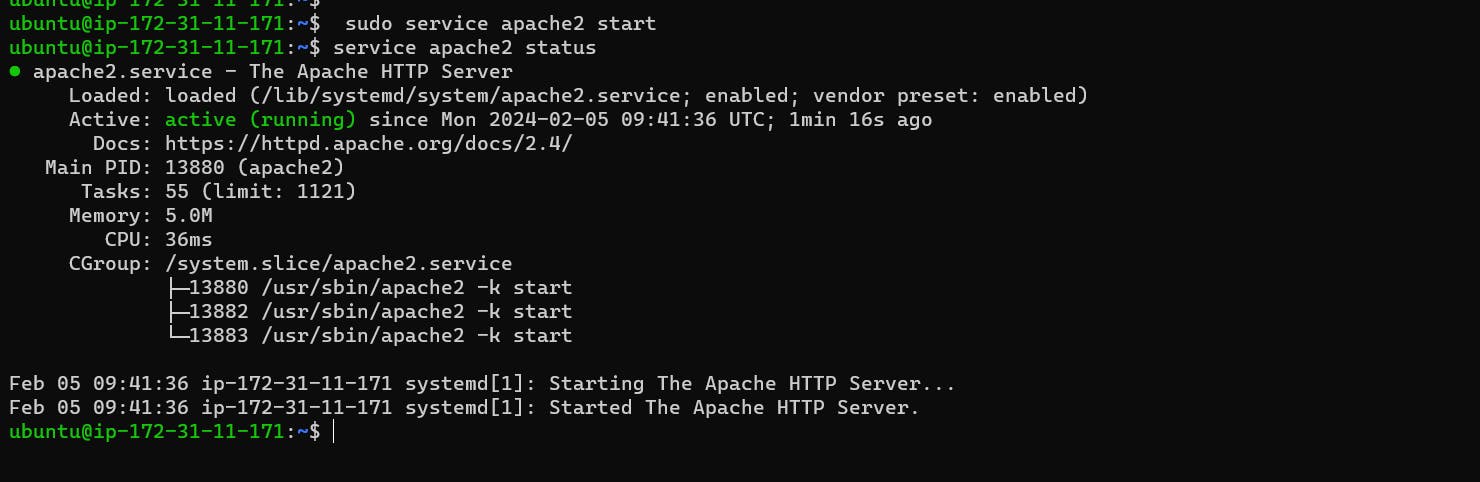
Start Apache2 with
service apache2 start.
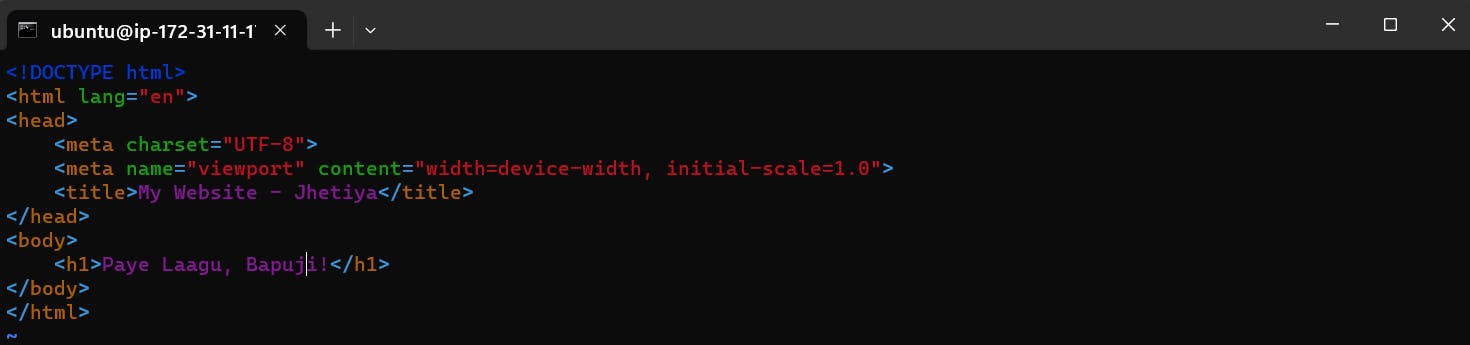
Edit Index File:
Navigate to the HTML directory with
cd /var/www/html/.
Check for the index file using
ls -a.Edit the index.html file for your specific instance using
vim index.html.
Copy and save your HTML code.
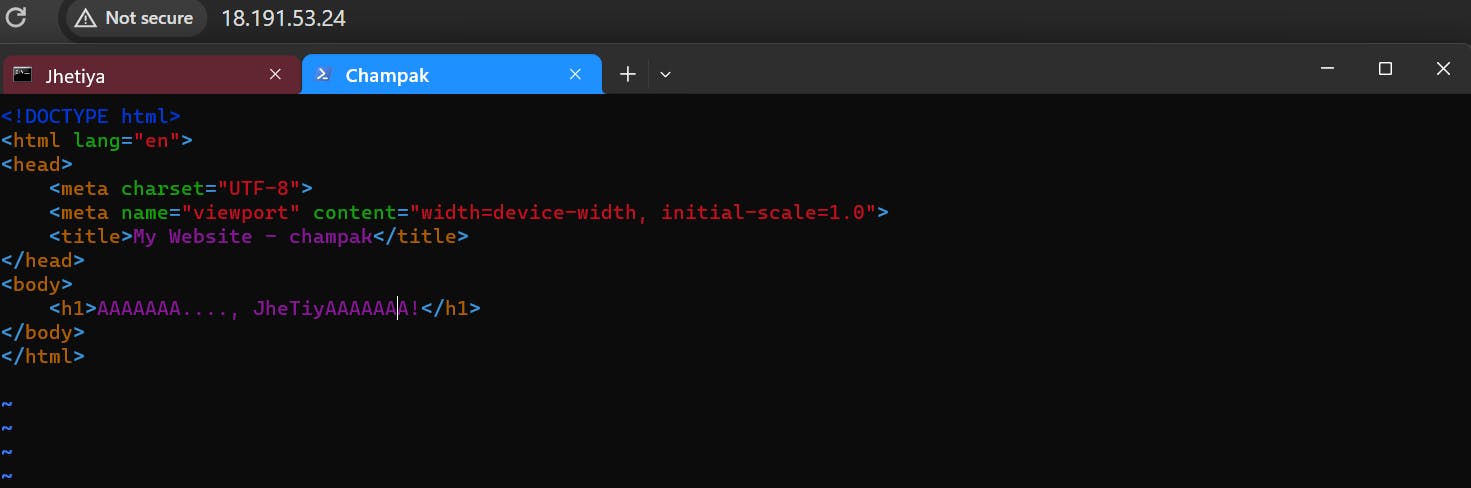
Congratulations!
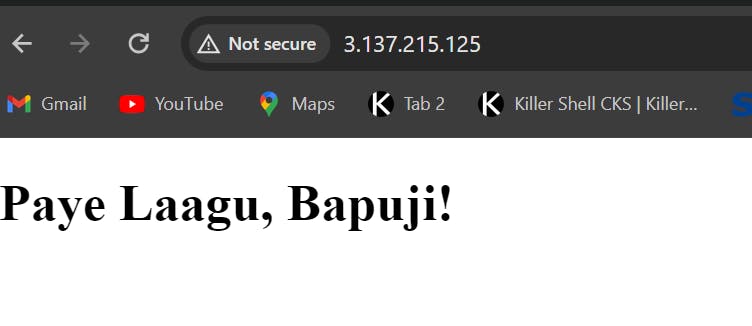
Your Apache2 web server is now set up.
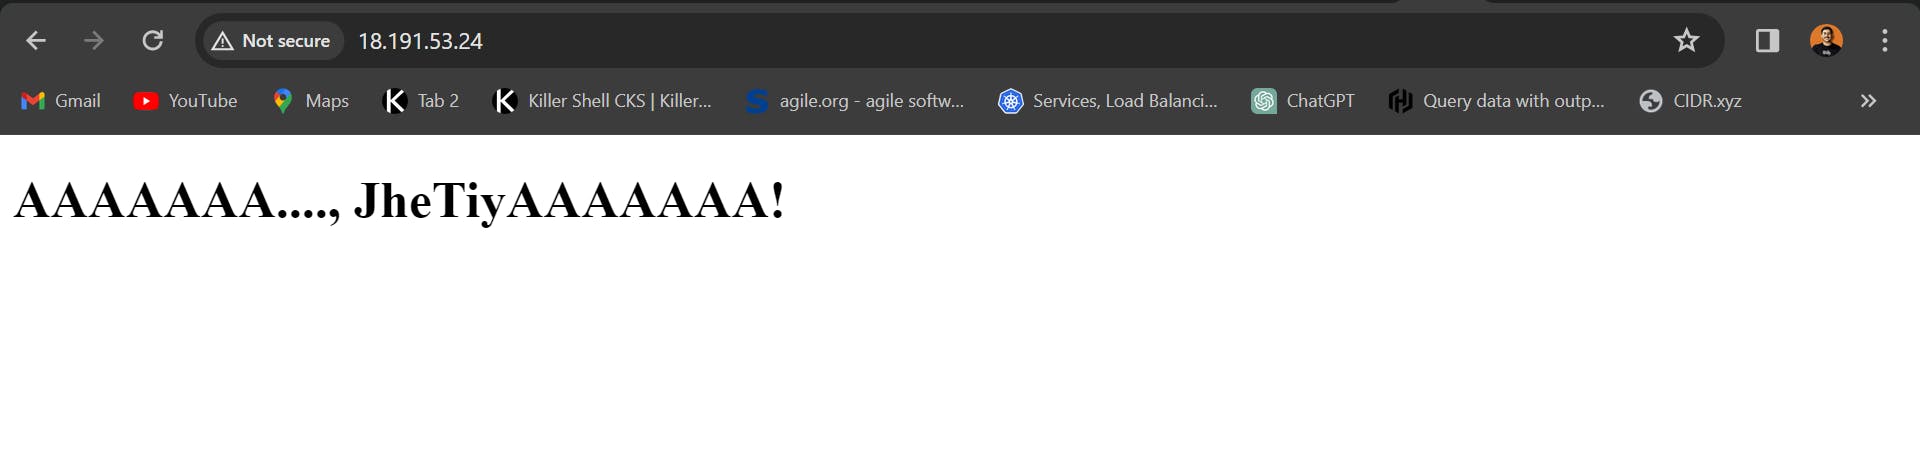
Access your landing page by typing the public IP of your instance into a browser.
Note: You can replace the index file with your own code and upload it to the server.
Task 2: Create an Application Load Balancer - Elastic Load Balancing using AWS EC2 Instance
How to create a load balancer using AWS:
Edit Server's Index File:
- Make distinct changes in the index file for each server to visualize load balancing.
Create Load Balancing Application:
Load Balancer Setup:
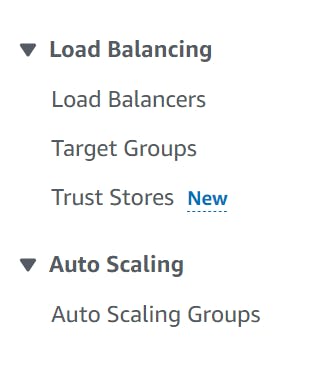
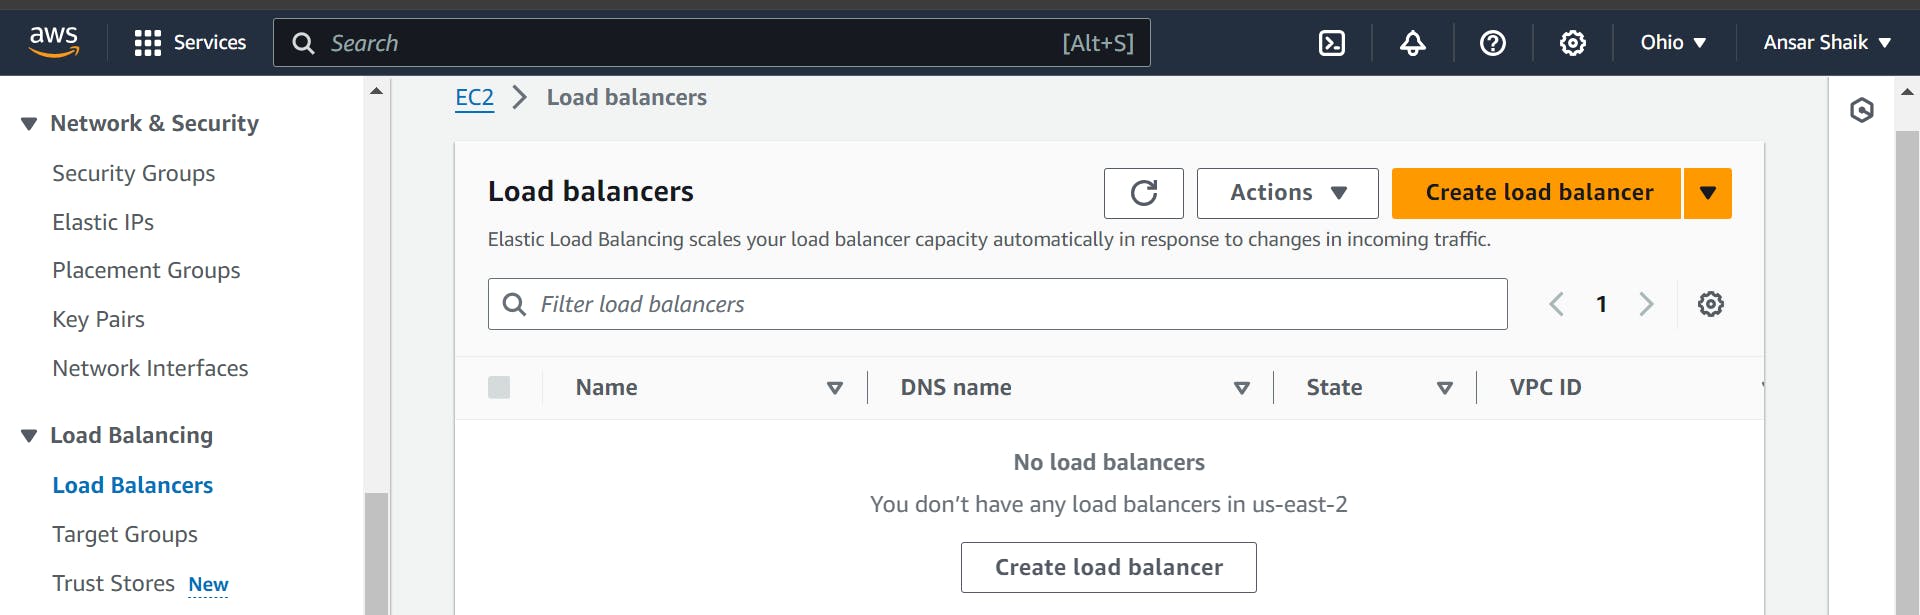
In the AWS Console, go to the Load Balancing section and click on "Load Balancers."
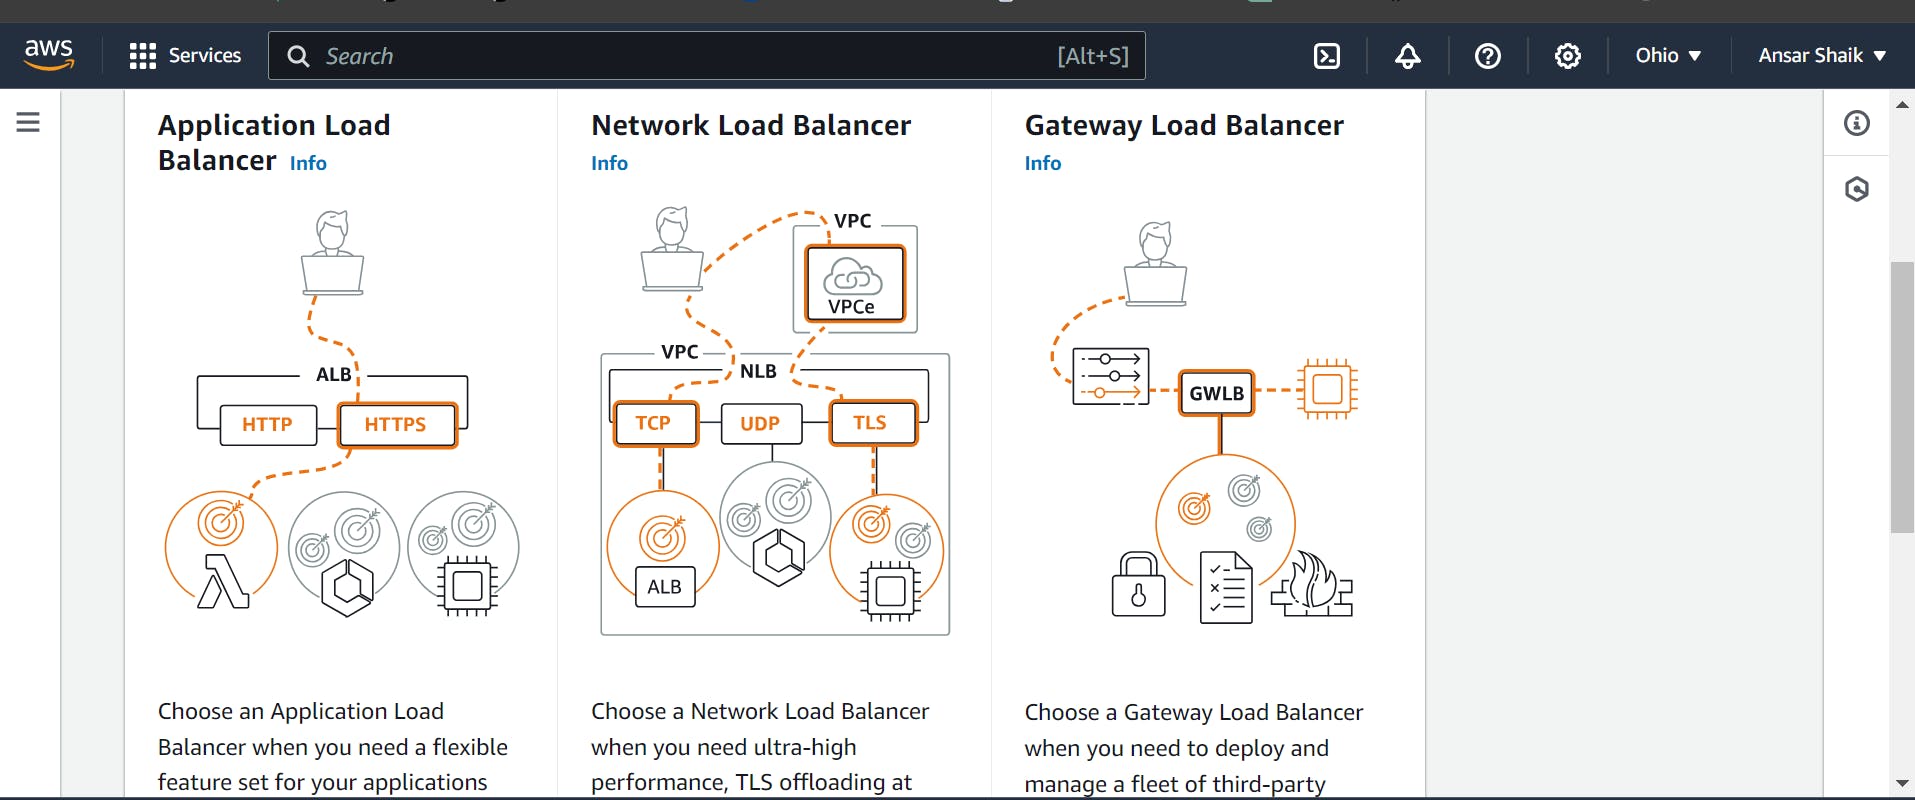
Create a new load balancer and select "Application Load Balancer."
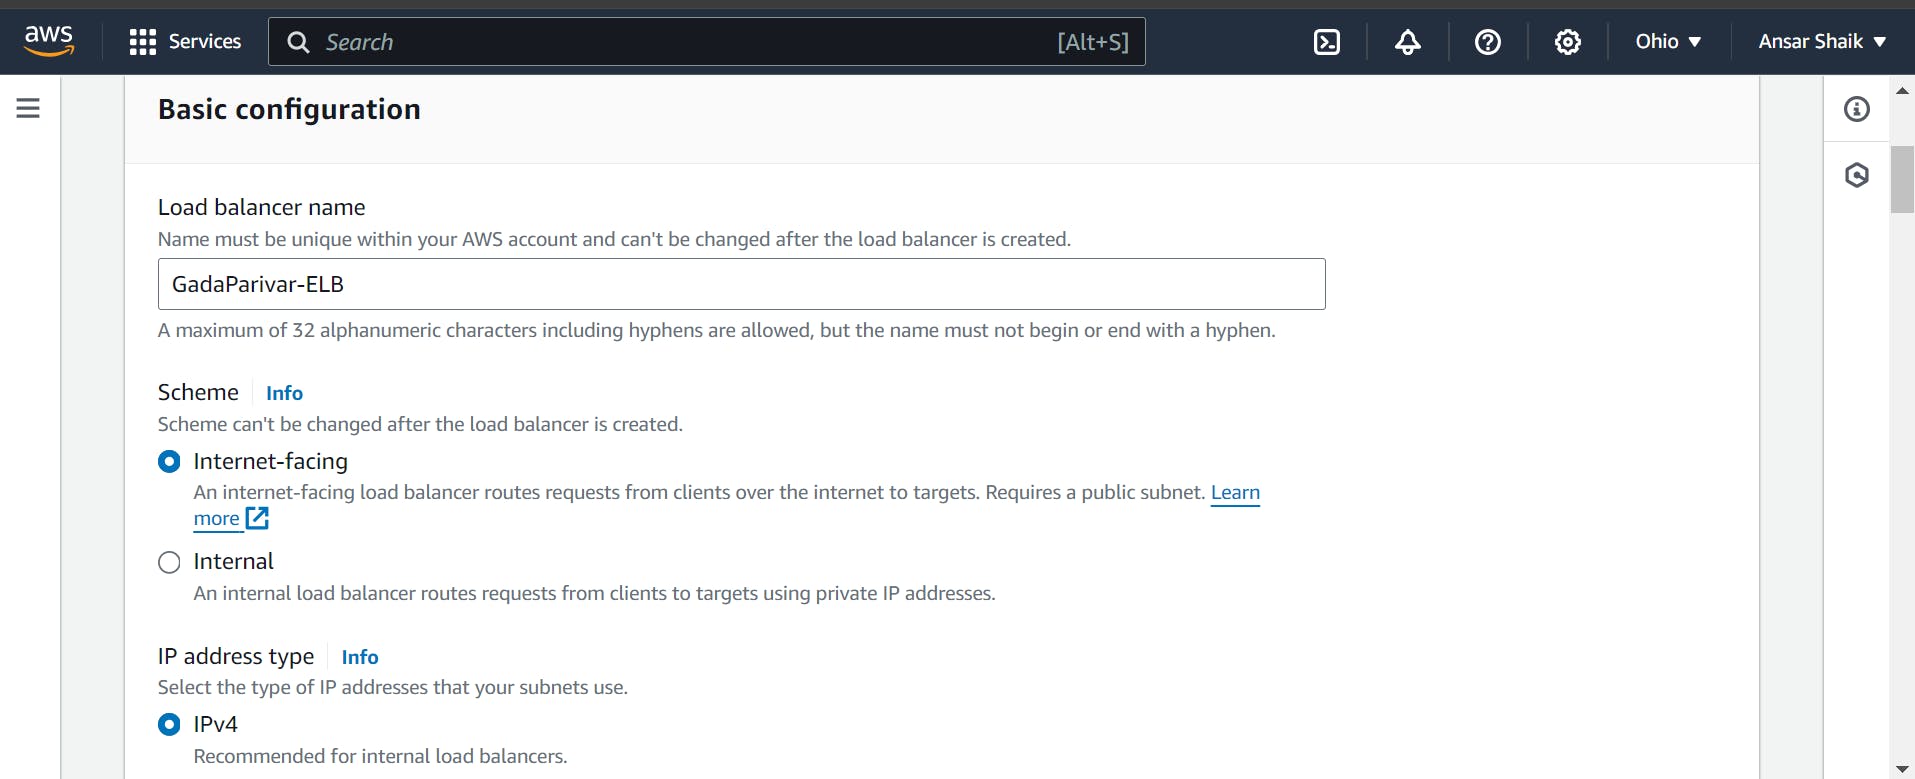
Provide a name and select mapping zones for your region.
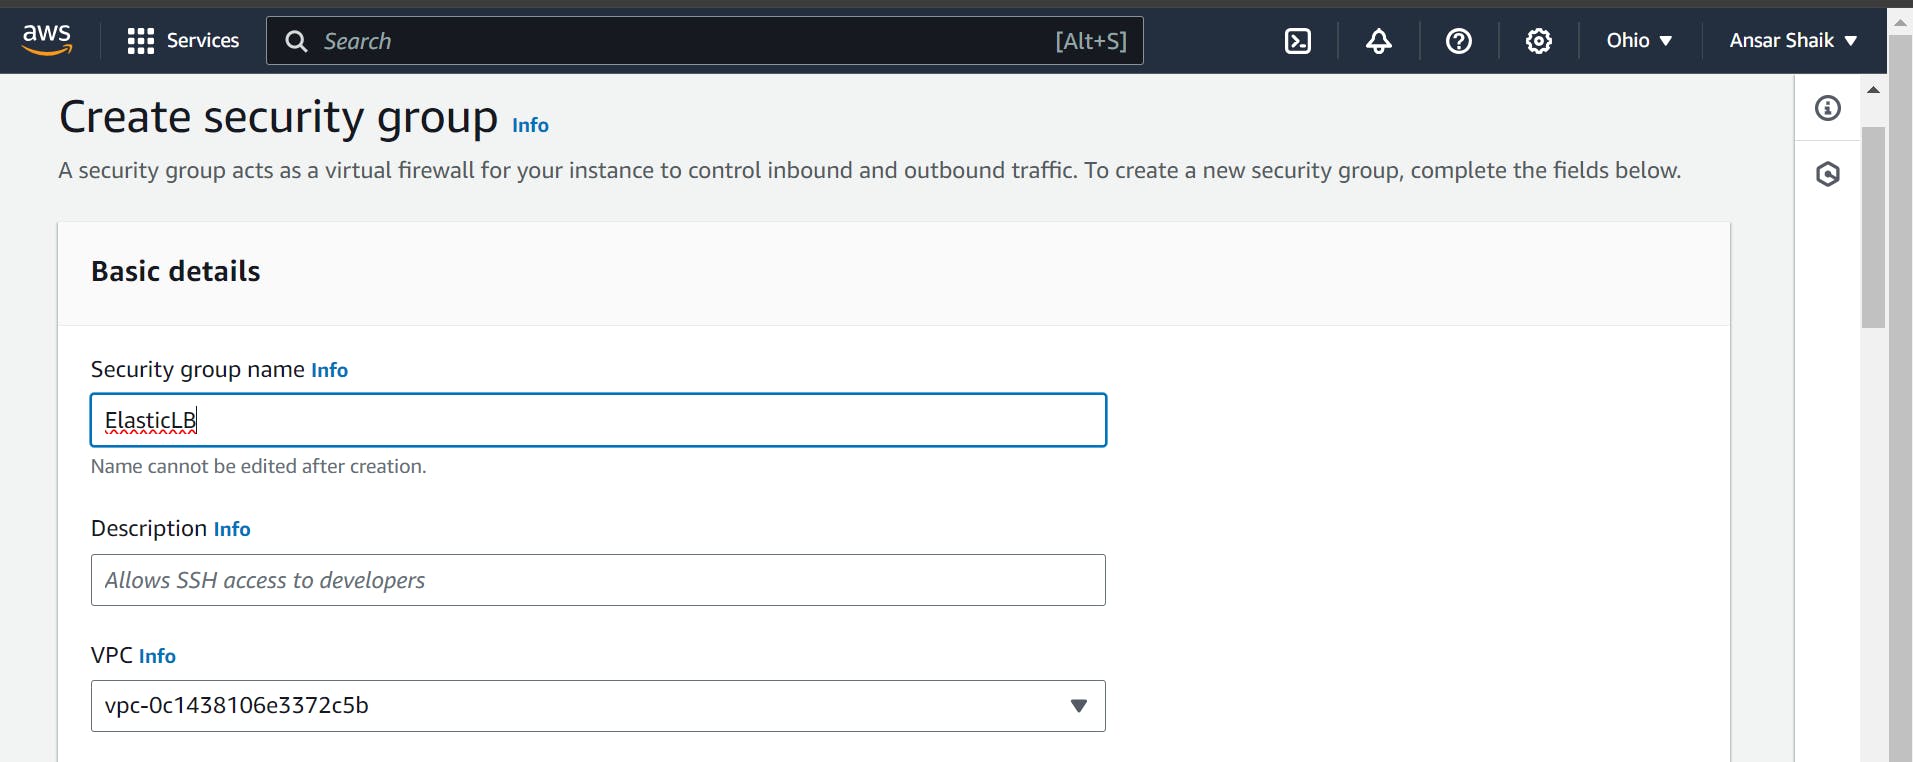
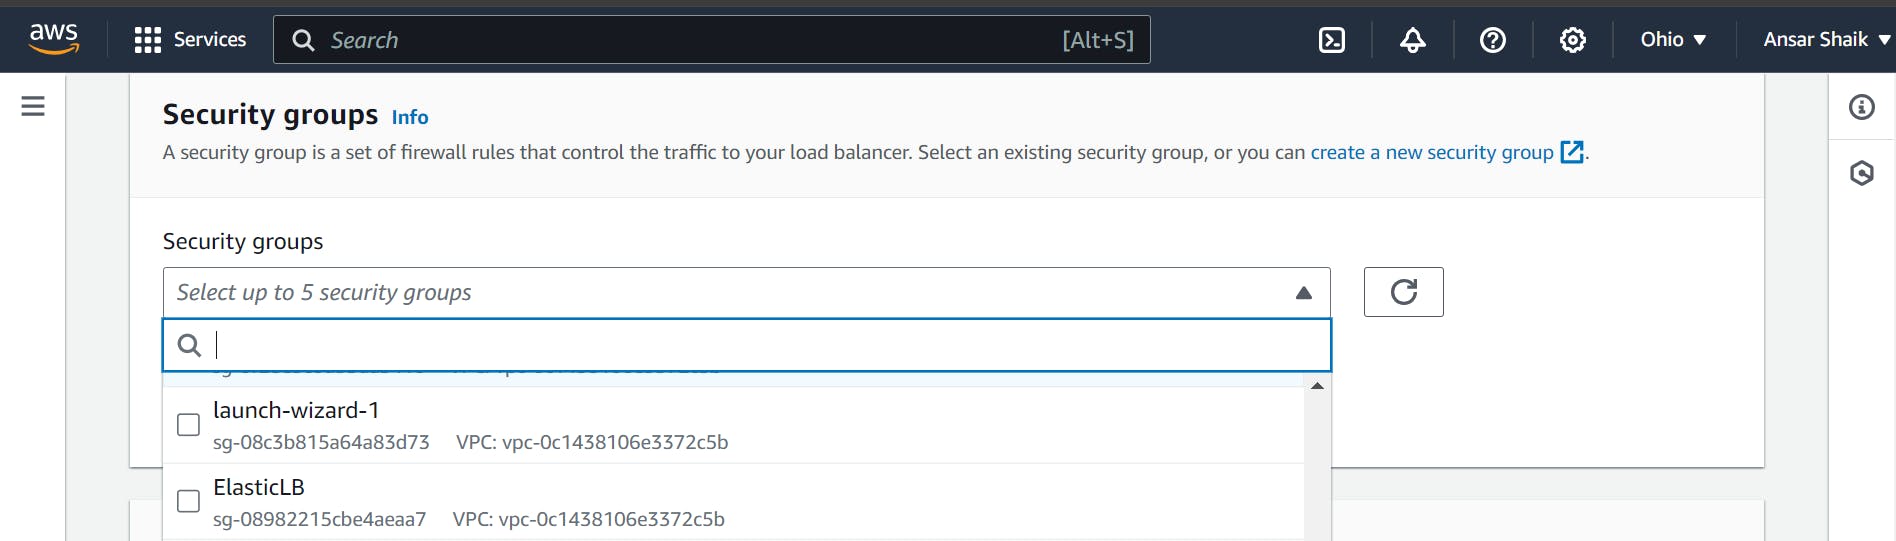
Create Security Group:
Create a new security group for the load balancer.
Set inbound rule to HTTP port 80.
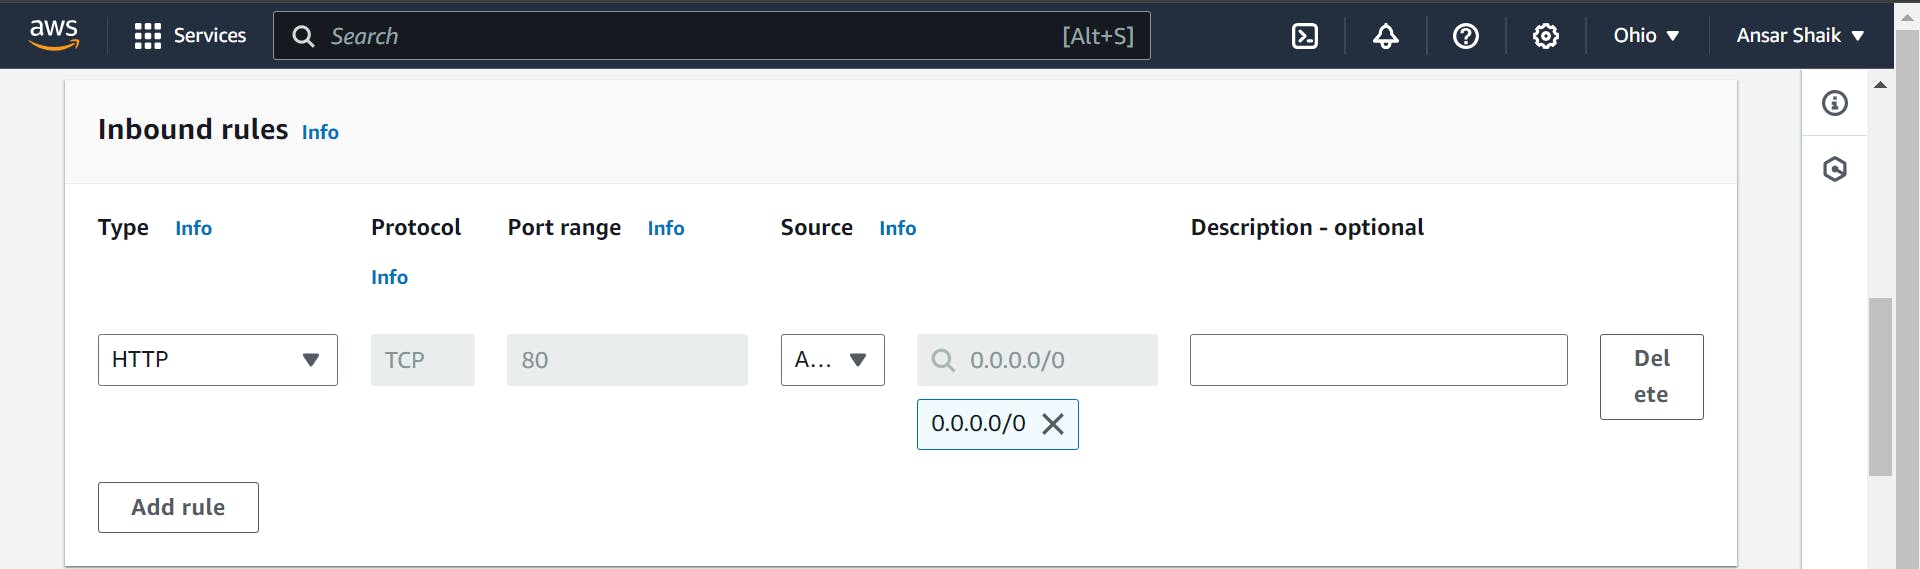
Refresh the security group list and select the newly created group.
Create Target Group:
In the Load Balancer tab, click on "Create Target Group."
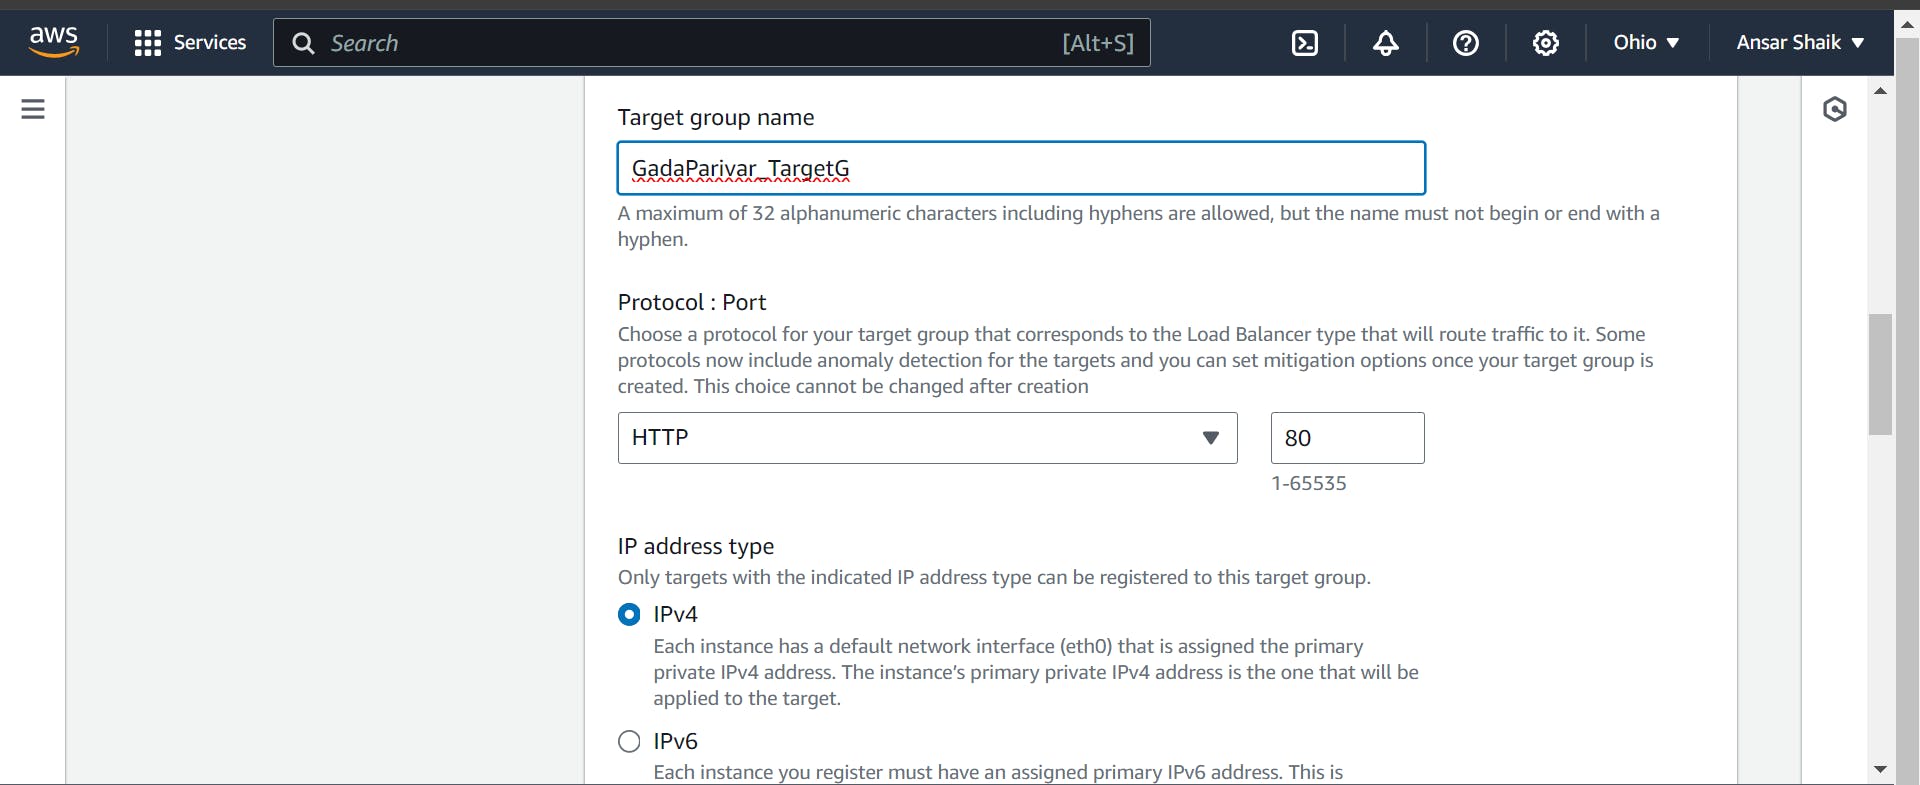
Choose the target type as "Instance."
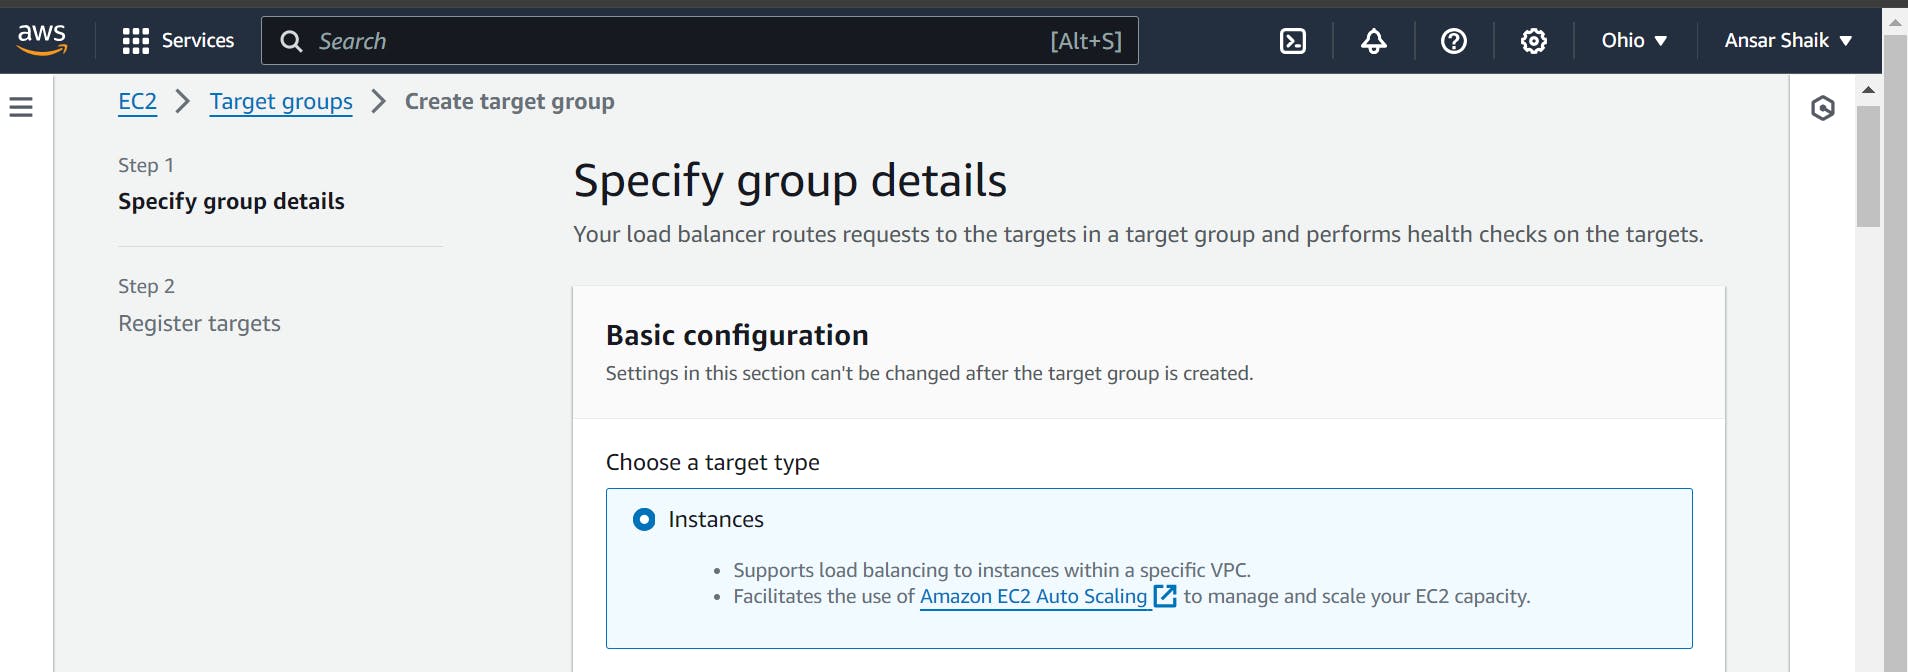
Enter the target group name and click "Next."
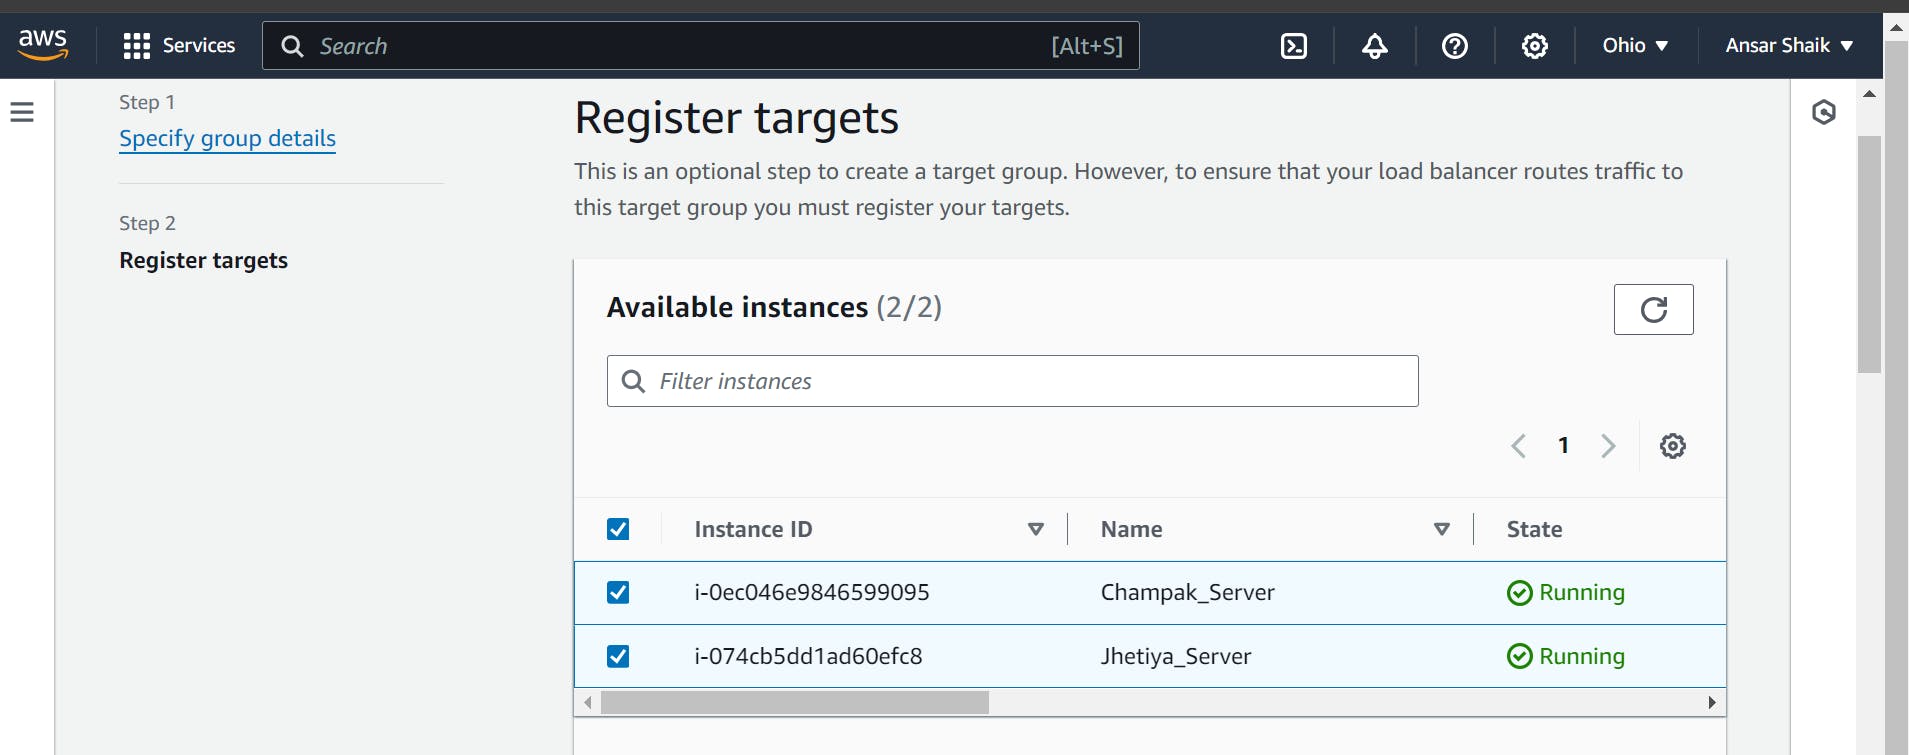
Click on Include as pending below
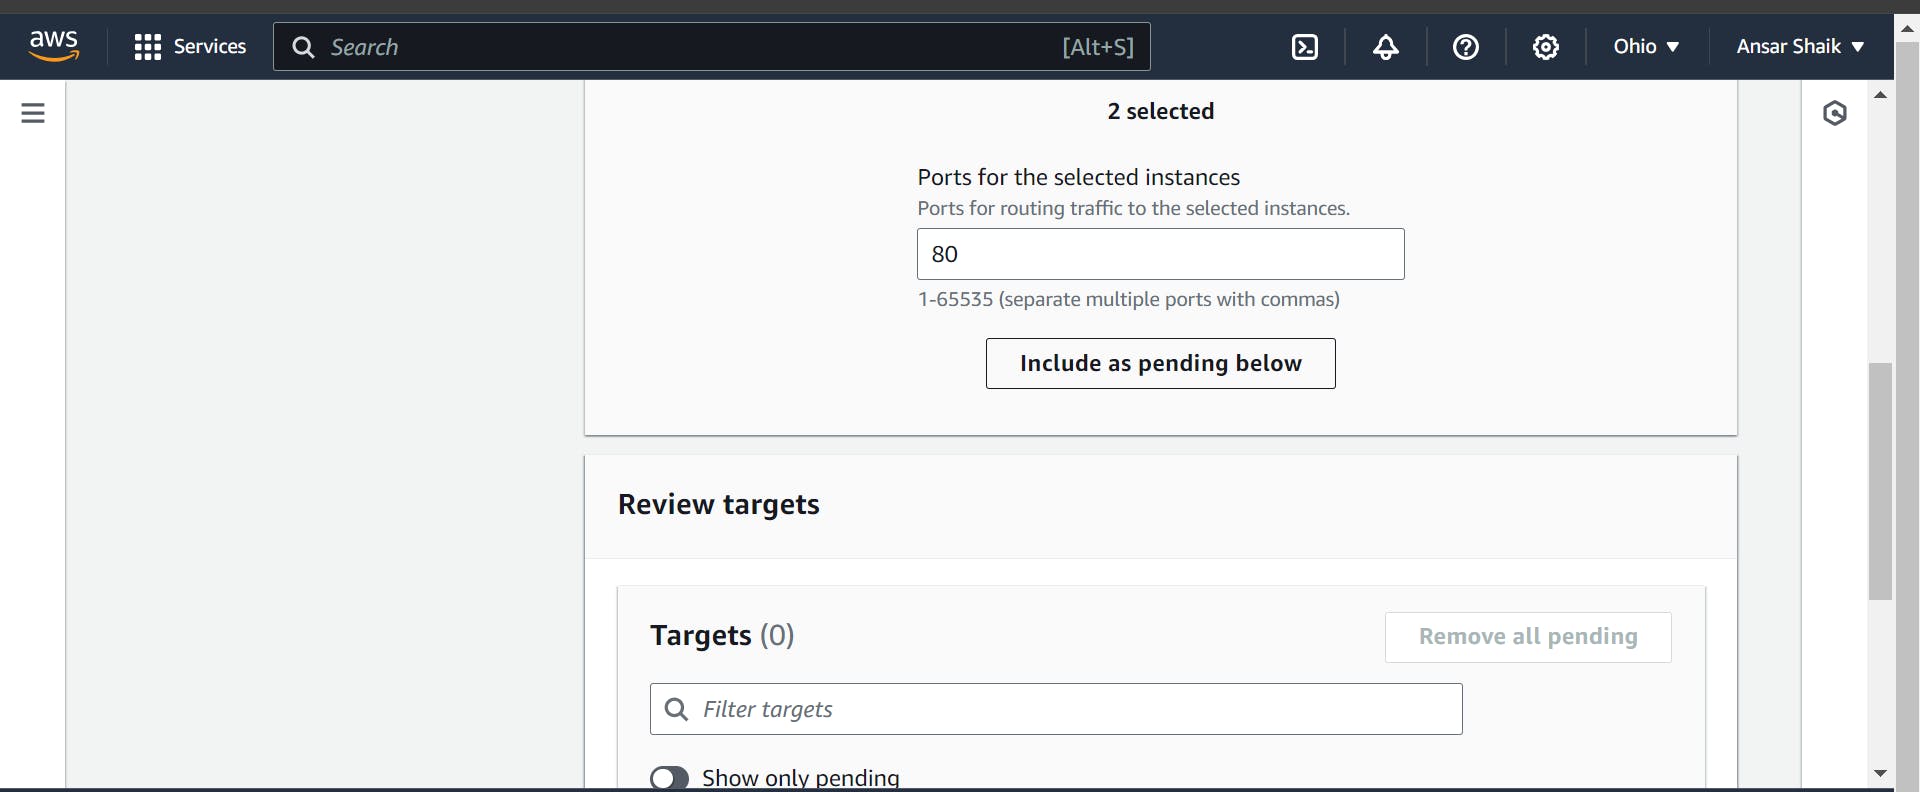
Select instances for load balancing and click "Create Target Group."

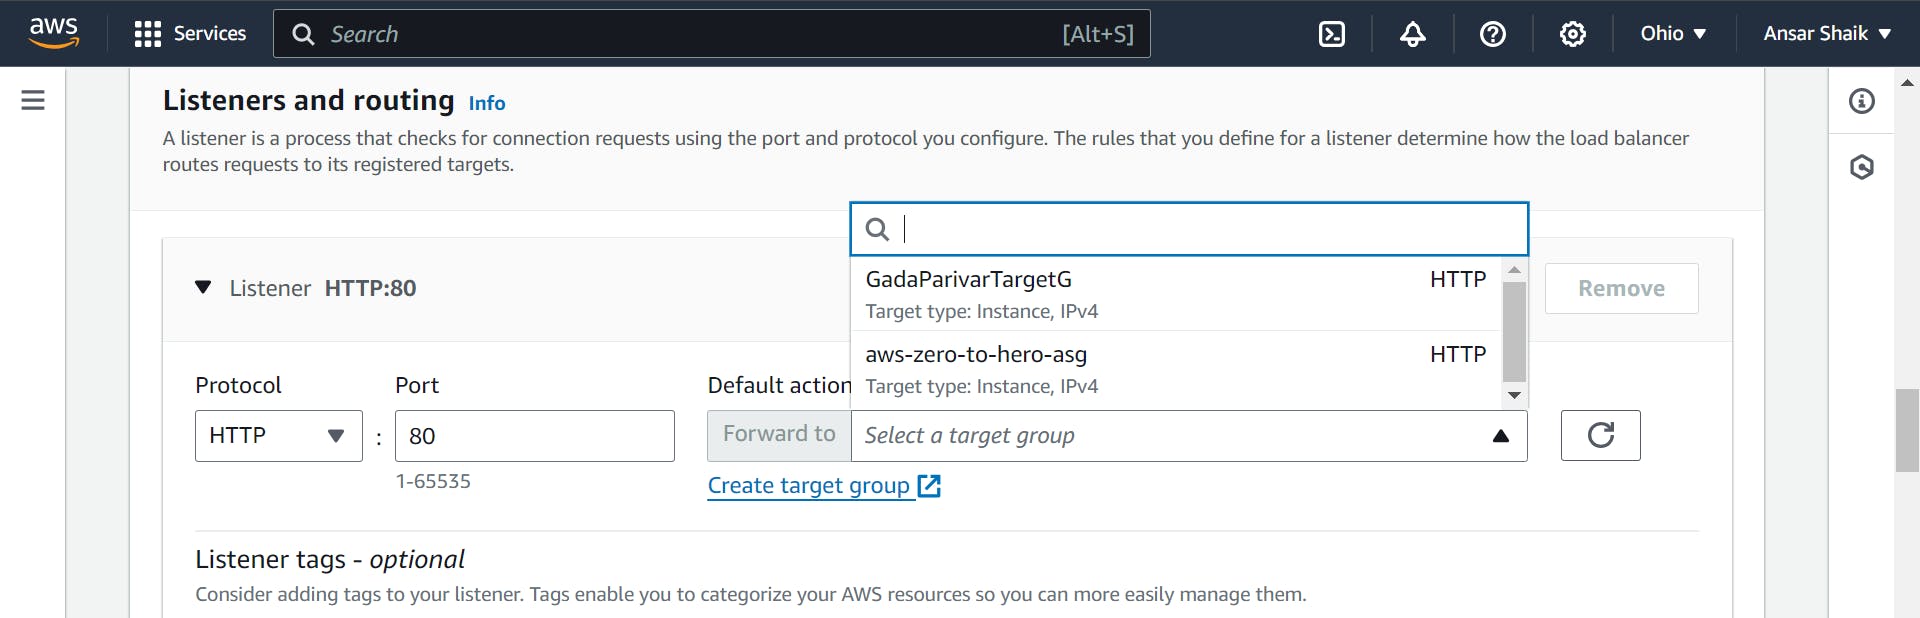
Configure Load Balancer:
Refresh the Load Balancer tab and select your target group.
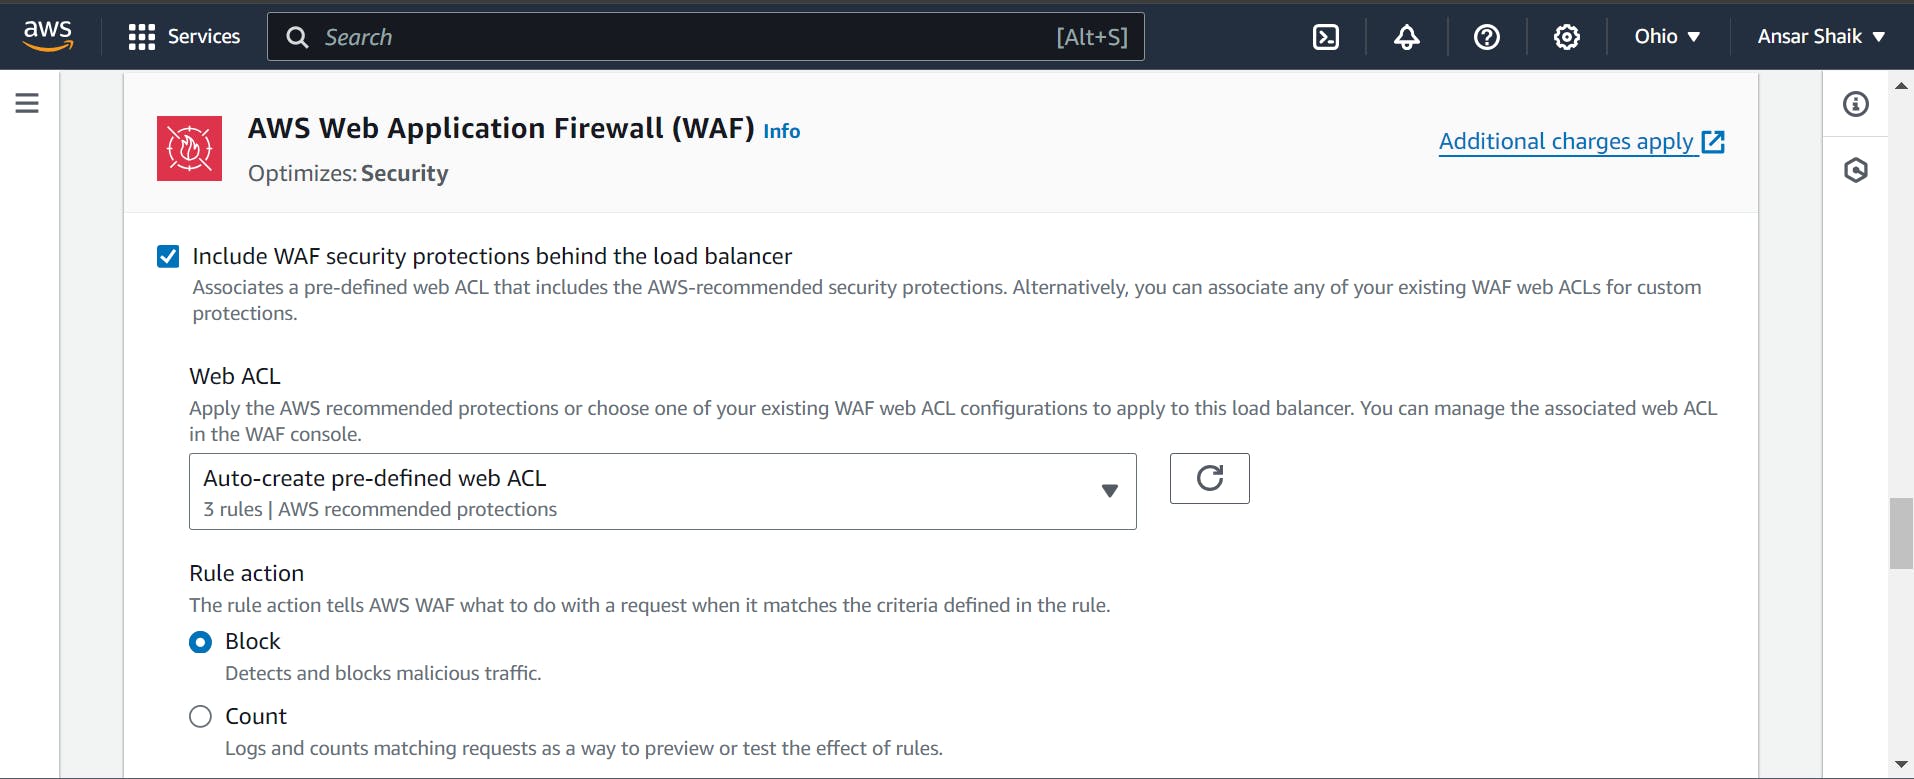
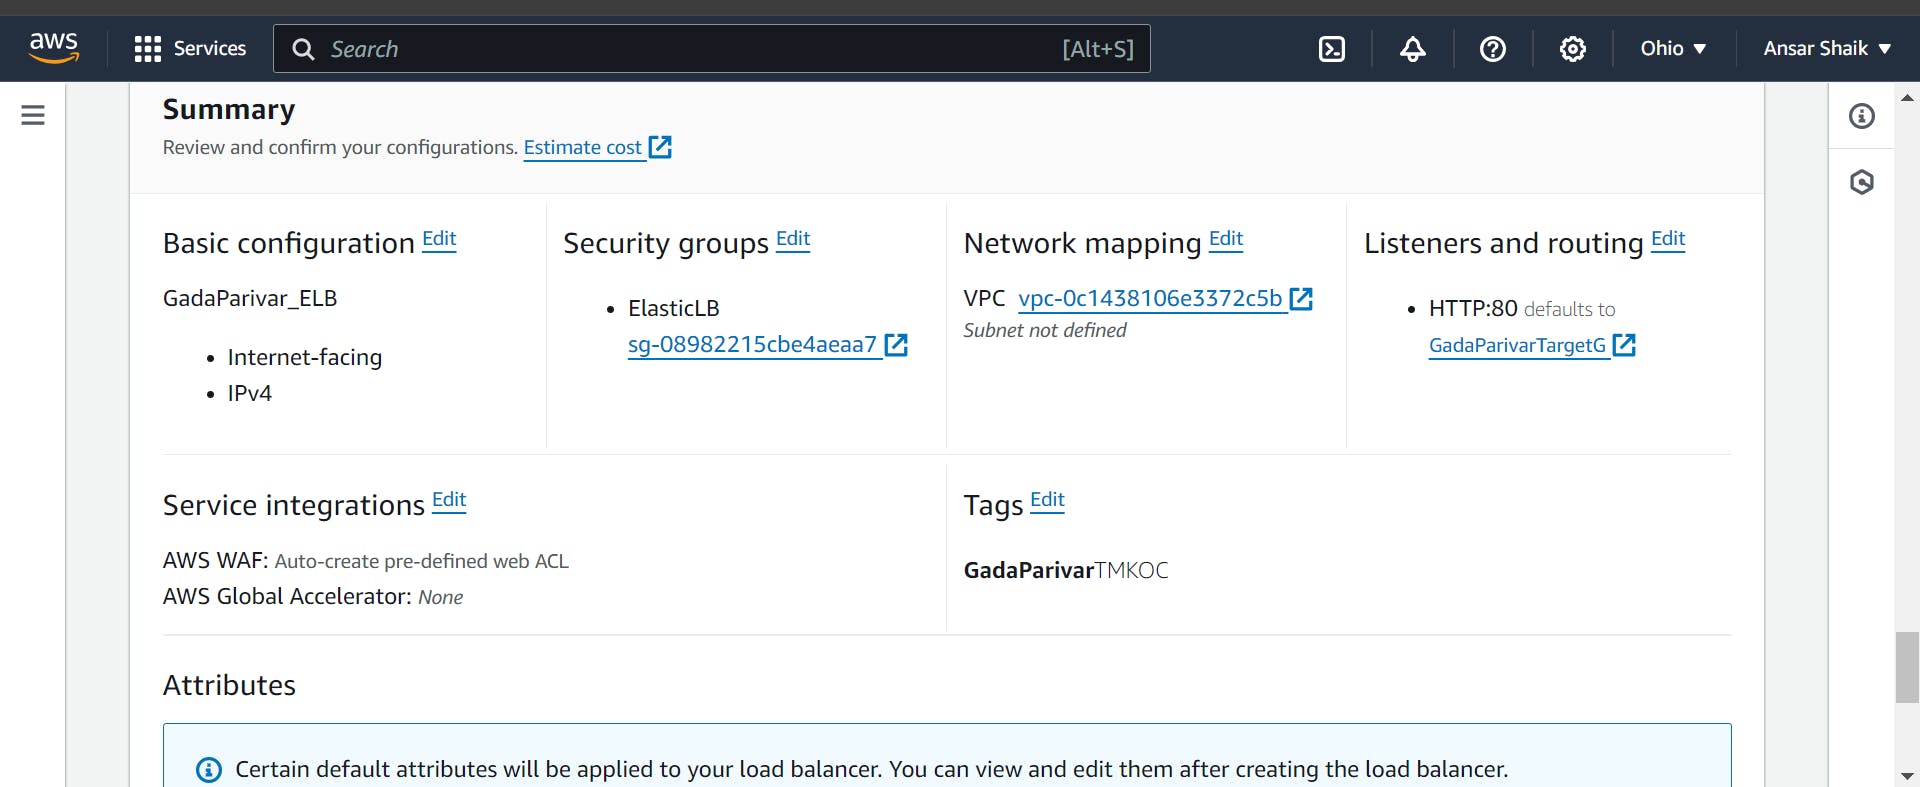
Associate WAF with Load Balancer:
In the Load Balancer tab, edit your load balancer and associate the newly created WAF WebACL.
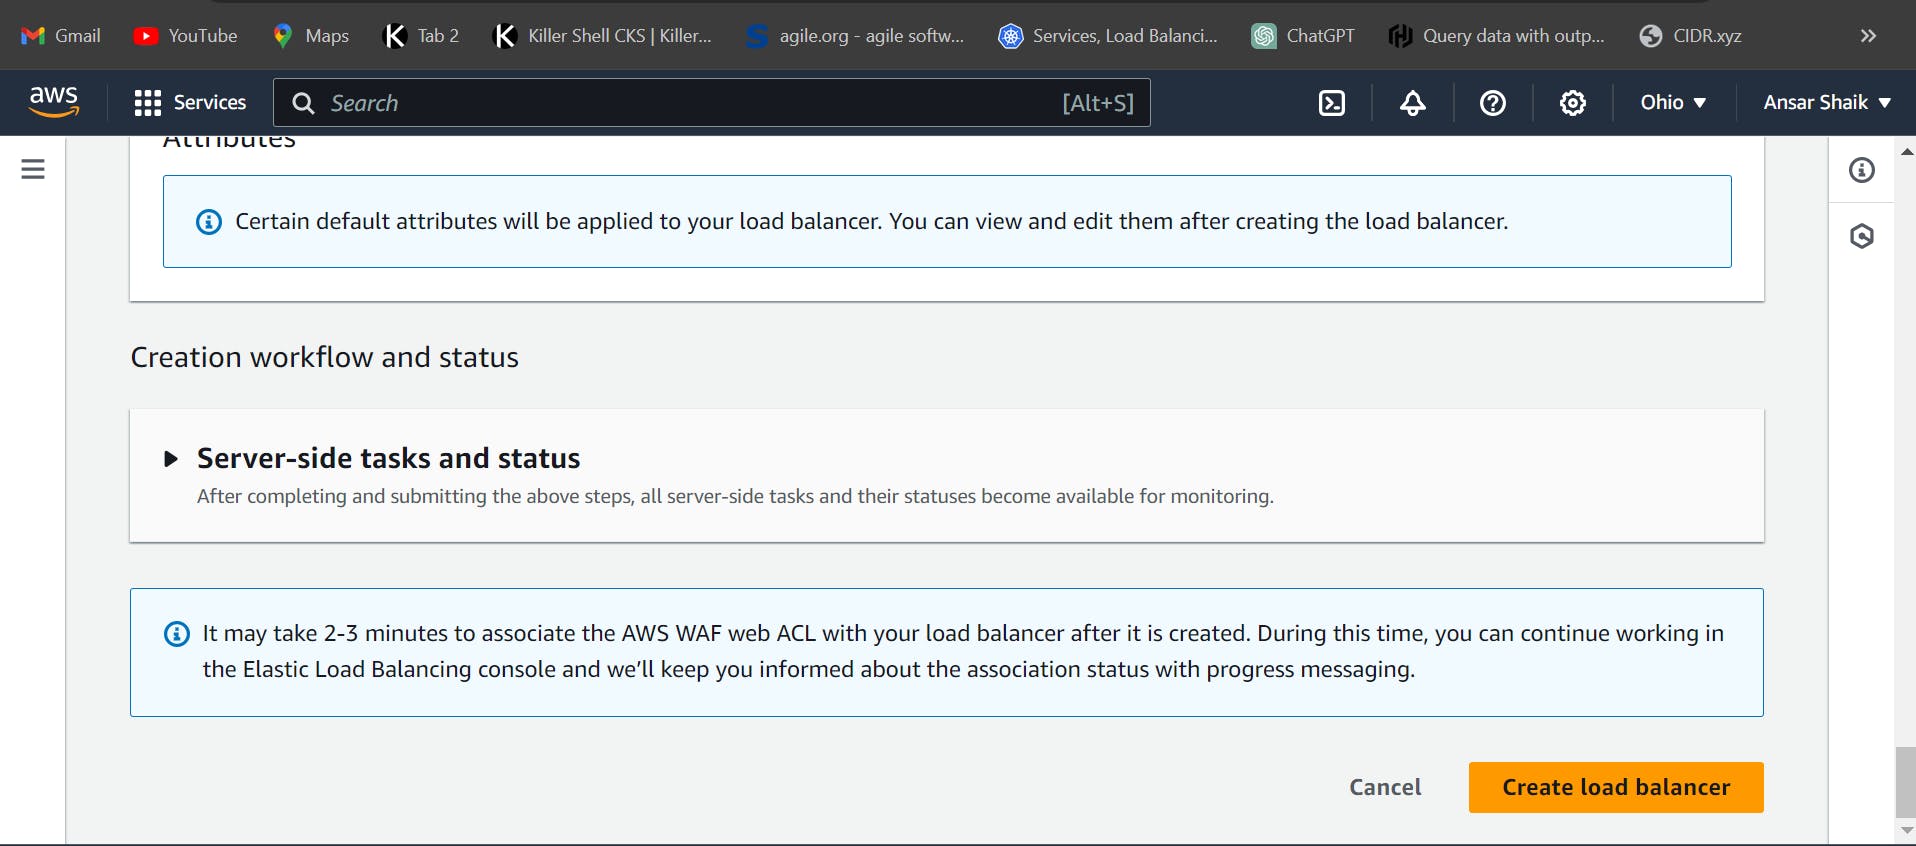
Review the summary and click "Create Load Balancer."
Test Load Balancer:

Copy the DNS name from the Load Balancer description.

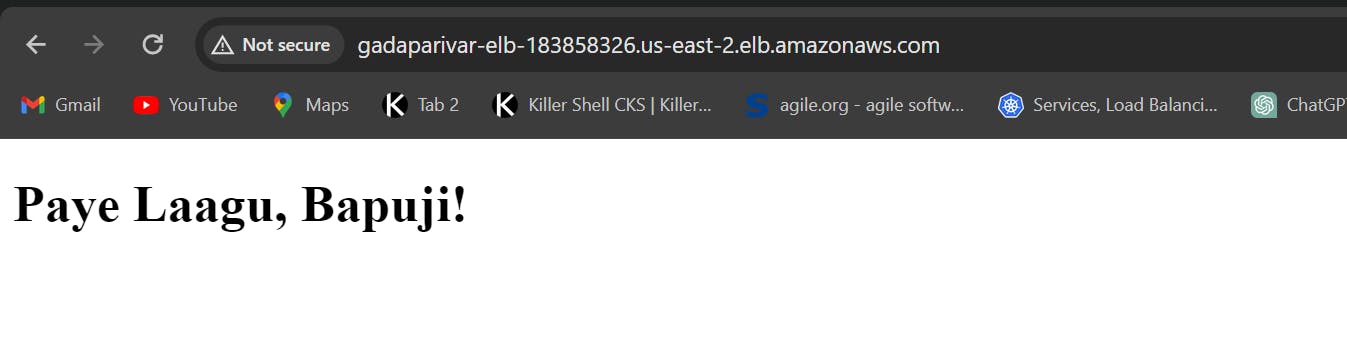
Paste it into a new browser tab and refresh to observe the load balancing effect.
Wait for a few minutes if the load balancer takes time to activate.
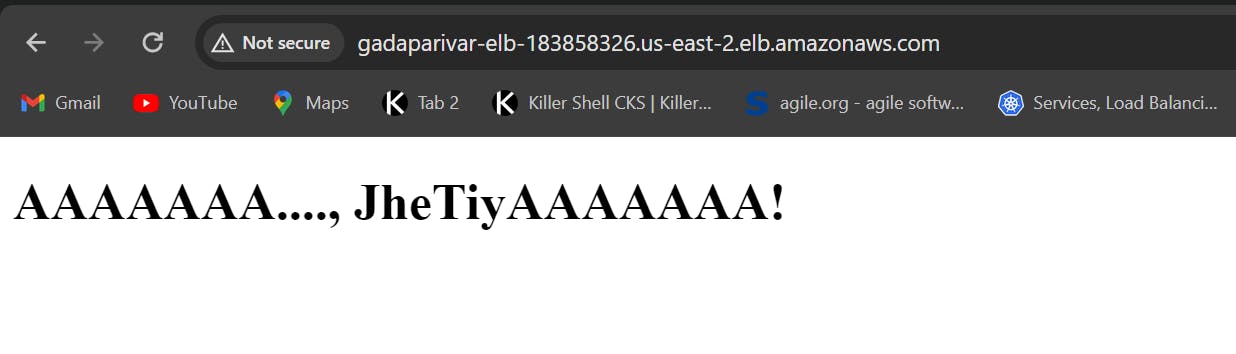
- Refresh
Congratulations!
You have successfully created an Application Load Balancer for your EC2 instances.
View the load balancer details and monitor its performance.
These tasks mark a significant step in optimizing your infrastructure for improved reliability and performance. Stay tuned for more exciting challenges in the 90DaysOfDevOps journey! 🚀