

Welcome back to the 90DaysOfDevOps challenge! Today, we dive into setting up your CI/CD pipeline on AWS, starting with AWS CodeCommit. In this blog post, we'll cover the basics of CodeCommit and walk through the initial setup steps.
What is AWS CodeCommit?
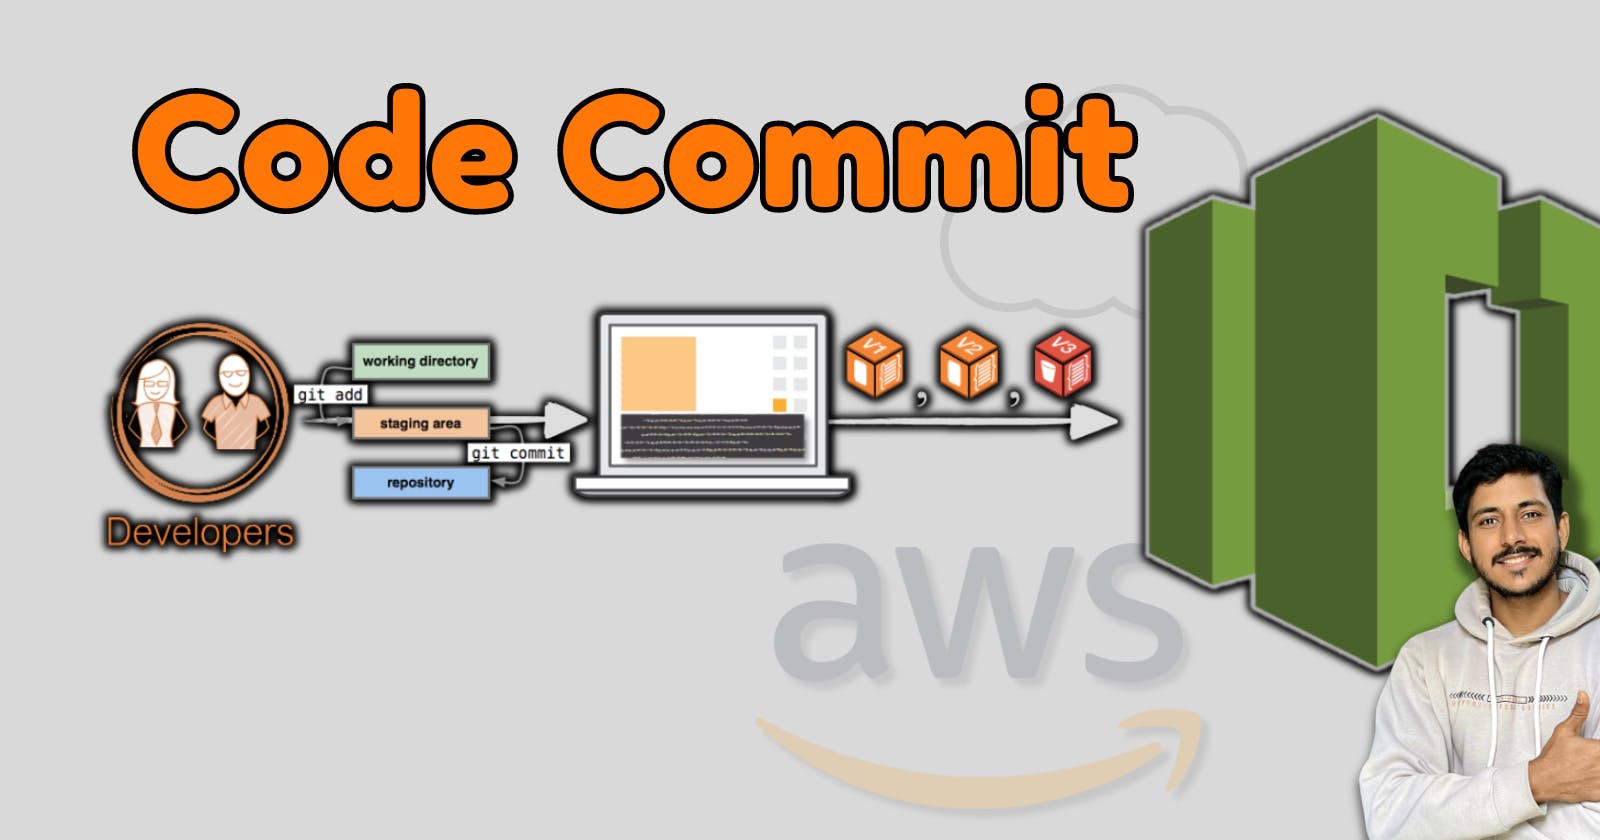
- CodeCommit is a managed source control service by AWS that allows users to store, manage, and version their source code and artifacts securely and at scale. It supports Git, integrates with other AWS services, enables collaboration through branch and merge workflows, and provides audit logs and compliance reports to meet regulatory requirements and track changes. Overall, CodeCommit provides developers with a reliable and efficient way to manage their codebase and set up a CI/CD pipeline for their software development projects.
Now, let's jump into the tasks for today:
Task 1: Creating a Repository in CodeCommit
Sign in to the AWS Management Console and navigate to the CodeCommit service.

Click on "Create repository" and provide a name for your repository. You can also add a description and choose the repository settings as per your requirements.

- Give a name to your repository and provide description if needed.

- Scroll down and just click on "Create" , BOOM your repository is ready.


Configure repository permissions if needed. You can set up access permissions for IAM users or AWS Identity and Access Management (IAM) roles.
Once the repository is created, note down the HTTPS Git URL provided. You'll need this to clone the repository to your local machine.

Create HTTP Git credentials for accessing your CodeCommit repository. This step ensures secure access to your repository over HTTPS.
Task 2: Configuring AWS CLI on EC2 Server and Cloning the Repository
Connect to your EC2 instance where you want to configure the AWS CLI.
Install the AWS CLI if it's not already installed on your EC2 instance.
Configure the AWS CLI with your access keys by running
aws configurecommand and providing the required information (Access Key ID, Secret Access Key, default region, and output format).
After configuring the AWS CLI, clone the repository to your EC2 instance using the HTTPS Git URL obtained earlier.

You might encounter an error stating that the user does not have permission to access the repository. This happens because the IAM user lacks the necessary permissions.

Go to the IAM console and locate the IAM user you're using. Attach the
CodeCommitPowerUserpolicy (or a custom policy with similar permissions) to grant access to CodeCommit repositories.
Now that you have access, navigate to the cloned repository directory on your EC2 instance.

Create an
index.htmlfile (or any file you prefer) and add some content to it.

Add, commit, and push the changes to your CodeCommit repository using Git commands (
git add,git commit,git push).

With these steps, you've successfully set up your CI/CD pipeline on AWS CodeCommit, and your repository is now ready for collaboration and automated deployments.

In the next part of this series, we'll explore integrating CodeCommit with other AWS services to build a complete CI/CD workflow. Stay tuned for more insights and hands-on tutorials!
That wraps up Day 50 of the 90DaysOfDevOps challenge. Happy coding!